Difference between revisions of "Mutators"
From Dungeon Defenders 2 Wiki
Blockerwiz (talk | contribs) m (Added correct size Toxi-Kaze image) |
Blockerwiz (talk | contribs) m (More counters are added) |
||
| Line 5: | Line 5: | ||
! Name !! Icon !! Description !! First Floor Found on || Counter | ! Name !! Icon !! Description !! First Floor Found on || Counter | ||
|- | |- | ||
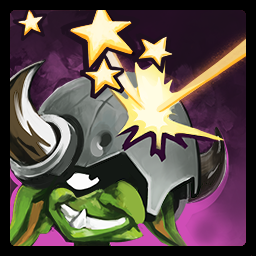
| − | | Headstrong || [[File:Headstrong.png]] || Enemies cannot be stunned. || Floor 3 | + | | Headstrong || [[File:Headstrong.png]] || Enemies cannot be stunned. || Floor 3 || Don't use stunning defenses on these lanes. |
|- | |- | ||
| − | | Pile it on || [[File:Pileiton.png]] || Enemies take increased damage per condition they are under || Floor 3 | + | | Pile it on || [[File:Pileiton.png]] || Enemies take increased damage per condition they are under || Floor 3 || Use many different conditions from defenses and abilities. |
|- | |- | ||
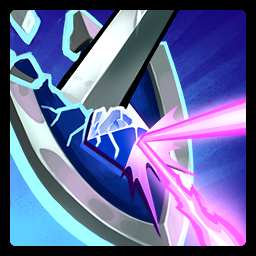
| − | | Power Block || [[File:Powerblock.png]] || All enemies are immune to damage from Abilities, but take increased weapon damage || Floor 3 | + | | Power Block || [[File:Powerblock.png]] || All enemies are immune to damage from Abilities, but take increased weapon damage || Floor 3 || Don't use abilities. |
|- | |- | ||
| − | | Unstoppable || [[File:Unstoppable.png]] || Enemies are immune to slow effects || Floor 3 | + | | Unstoppable || [[File:Unstoppable.png]] || Enemies are immune to slow effects || Floor 3 || Don't use slowing defenses on these lanes. |
|- | |- | ||
| − | | Abominable || [[File:Abominable.png]] || Enemies inflict slow with their attacks || Floor 3 | + | | Abominable || [[File:Abominable.png]] || Enemies inflict slow with their attacks || Floor 3 || Avoid letting enemies hit defenses; slow or stun them. |
|- | |- | ||
| Soft Spot || [[File:Softspot.png]] || Enemies have increased resistance, but take extra weakpoint damage || Floor 3 | | Soft Spot || [[File:Softspot.png]] || Enemies have increased resistance, but take extra weakpoint damage || Floor 3 | ||
|- | |- | ||
| − | | Armored || [[File:Armored.png]] || Enemies take reduced Physical damage, and increased Magical damage || Floor 3 | + | | Armored || [[File:Armored.png]] || Enemies take reduced Physical damage, and increased Magical damage || Floor 3 || Use magic defenses (indicated by purple damage numbers) |
|- | |- | ||
| Lethargic || [[File:Lethargic.png]] || Enemies start stronger, but get weaker the longer they live. || Floor 9 || Keep your defenses towards the end of the lane. | | Lethargic || [[File:Lethargic.png]] || Enemies start stronger, but get weaker the longer they live. || Floor 9 || Keep your defenses towards the end of the lane. | ||
| Line 35: | Line 35: | ||
| Enraged || [[File:Enraged.png]] || Enemies start weaker, but get stronger the longer they live || Floor 10 || Place defenses at the beginning of lanes to kill quickly. | | Enraged || [[File:Enraged.png]] || Enemies start weaker, but get stronger the longer they live || Floor 10 || Place defenses at the beginning of lanes to kill quickly. | ||
|- | |- | ||
| − | | Controlled Burn || [[File:Controlled Burn.png]] || Enemies can only be damaged while drenched, oiled, frozen, poisoned, chilled or stunned || Floor 20 | + | | Controlled Burn || [[File:Controlled Burn.png]] || Enemies can only be damaged while drenched, oiled, frozen, poisoned, chilled or stunned || Floor 20 || Use defenses or abilities to apply one or more of the listed conditions. |
|- | |- | ||
| Detonator || [[File:Detonator.png]] || Enemies explode when killed || Floor 20 | | Detonator || [[File:Detonator.png]] || Enemies explode when killed || Floor 20 | ||
| Line 43: | Line 43: | ||
| Pain Aura || [[File:Pain Aura.png]] || Enemies deal damage around them || Floor 20 || Keep defenses out of lanes so they don't take damage. | | Pain Aura || [[File:Pain Aura.png]] || Enemies deal damage around them || Floor 20 || Keep defenses out of lanes so they don't take damage. | ||
|- | |- | ||
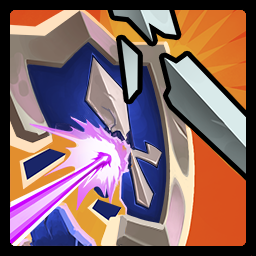
| − | | Spellbreaker || [[File:Spell Breaker.png]] || Enemies take reduced Magical damage, and increased Physical damage || Floor 20 | + | | Spellbreaker || [[File:Spell Breaker.png]] || Enemies take reduced Magical damage, and increased Physical damage || Floor 20 || Use physical defenses (indicated by white damage numbers) |
|- | |- | ||
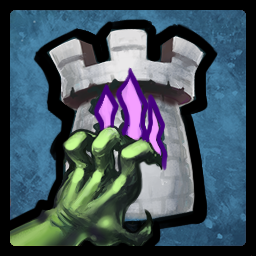
| Cursi-Kaze || [[File:Cursi-Kaze.png]] || When Kobolds die, they will leave an area that debuff towers and defenses || Floor 13 || Slow and stun kobolds so they don't make it to your last line of defenses. | | Cursi-Kaze || [[File:Cursi-Kaze.png]] || When Kobolds die, they will leave an area that debuff towers and defenses || Floor 13 || Slow and stun kobolds so they don't make it to your last line of defenses. | ||
Revision as of 19:39, 13 December 2018
Mutators are modifiers to enemies that spawn from that particular lane. These can be buffs or nerfs to the enemies or can grant additional effects. Double Mutators start at floor 22.
