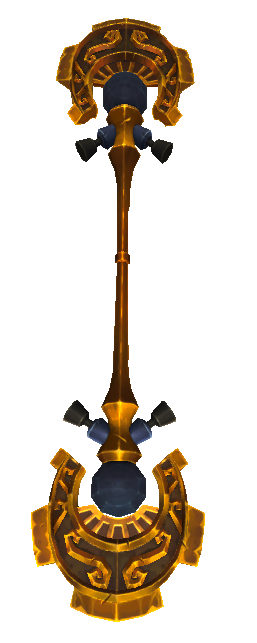
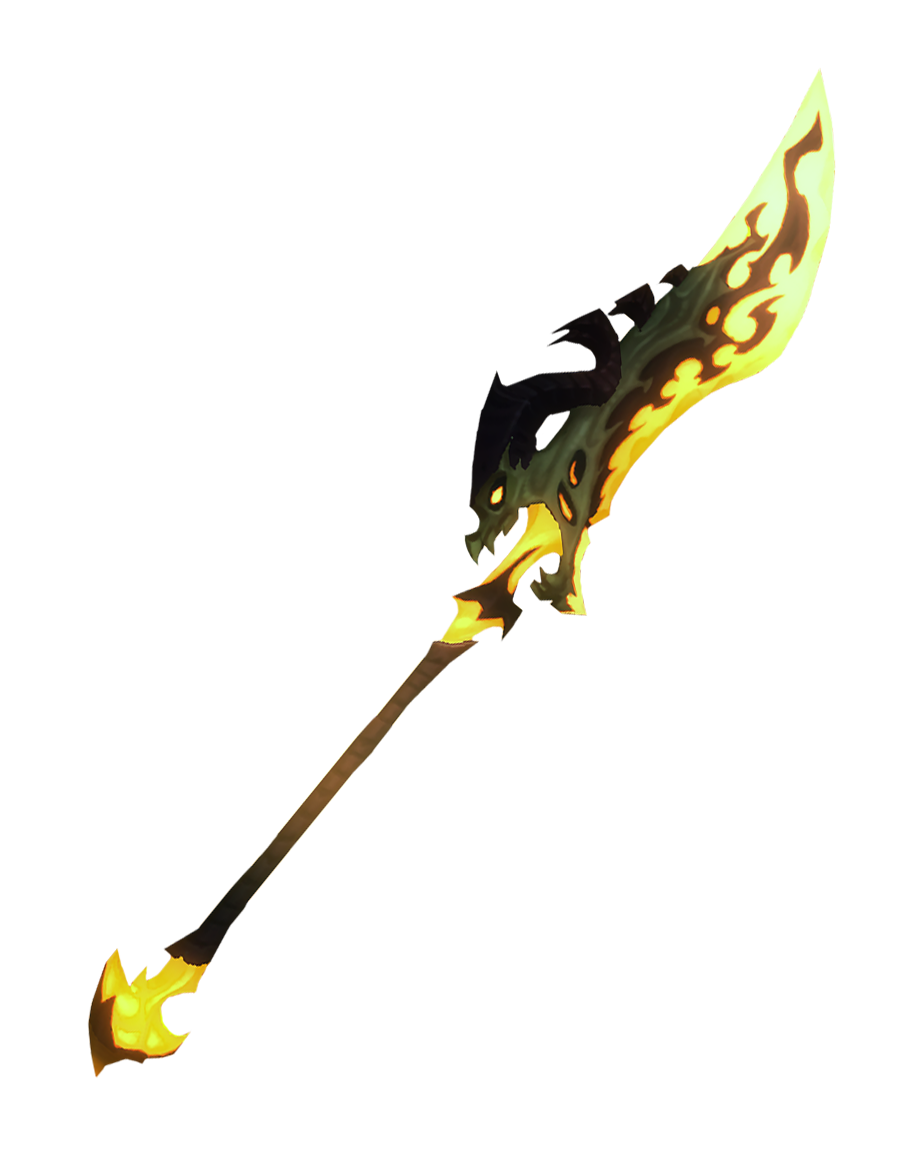
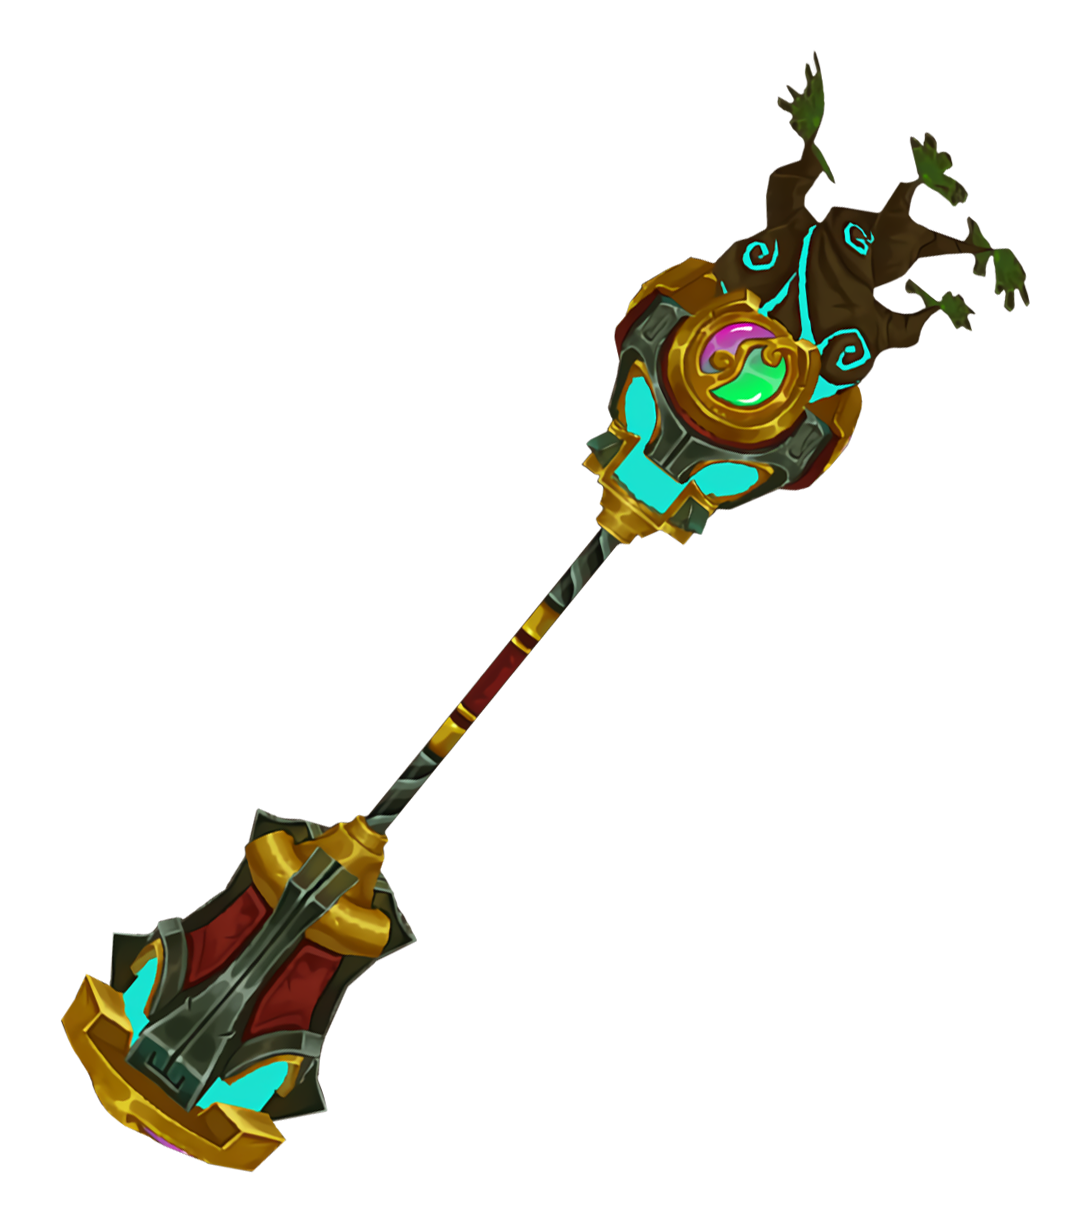
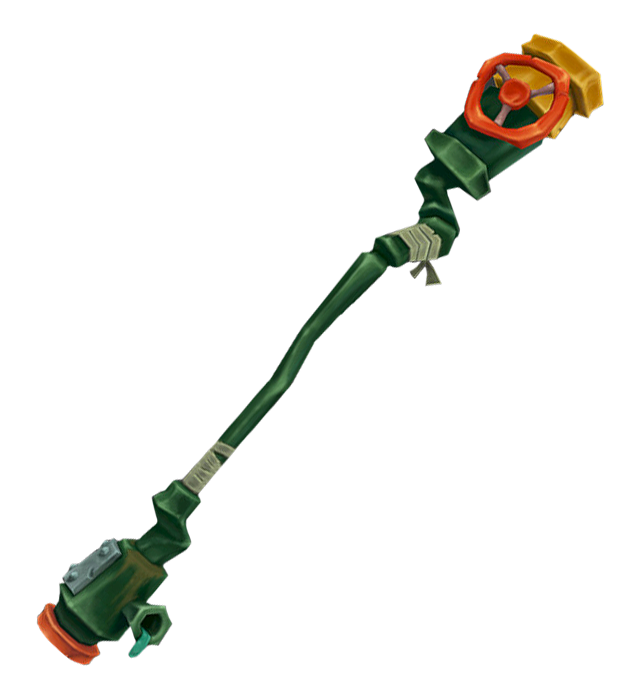
Difference between revisions of "Polearms"
From Dungeon Defenders 2 Wiki
(Sturdy weapons and calling for more things within the text up to mythical) |
|||
| Line 73: | Line 73: | ||
| | | | ||
{{Weapon Display | {{Weapon Display | ||
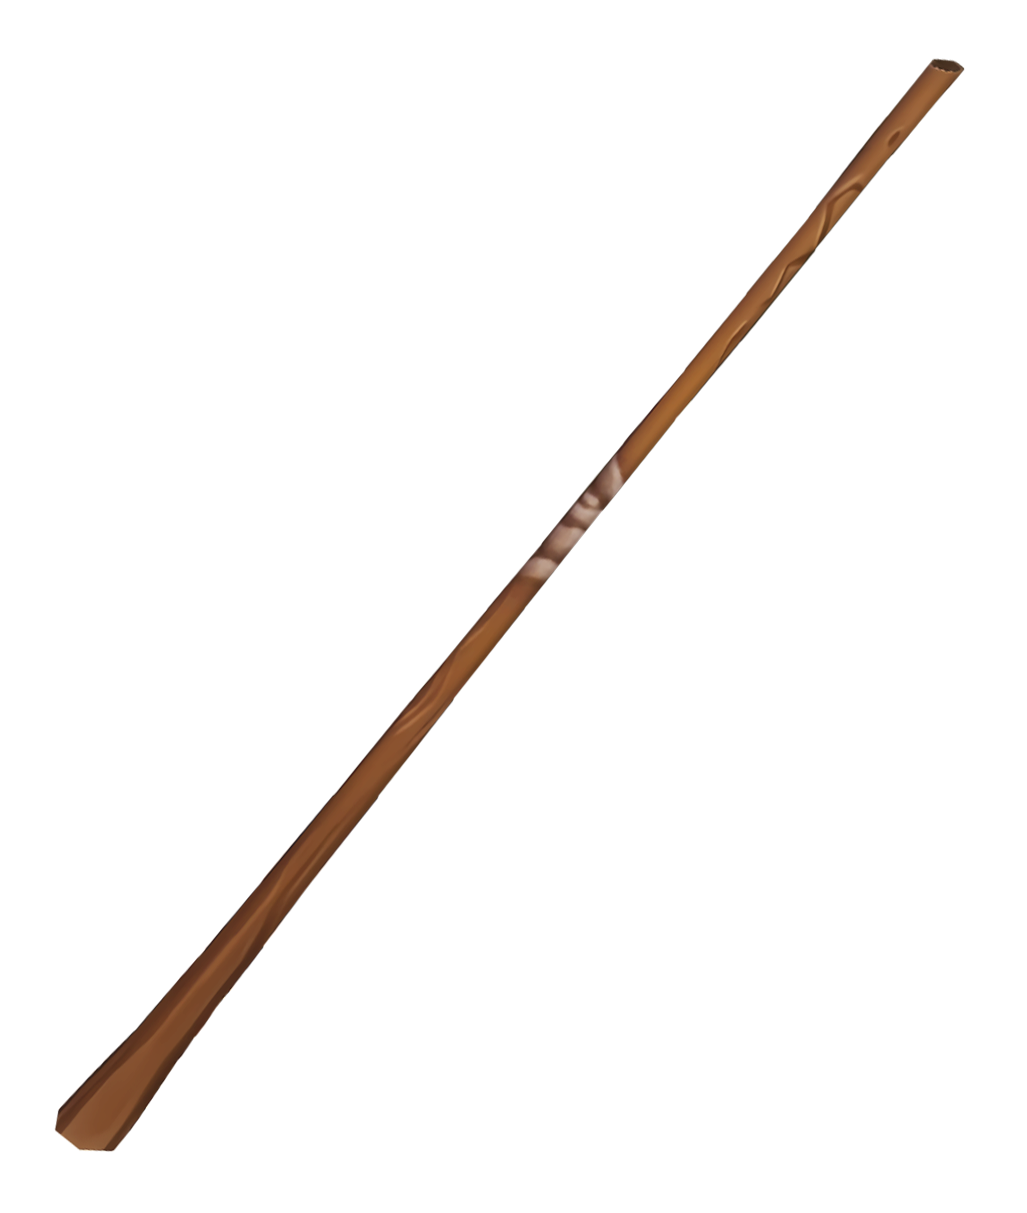
| + | | image = File:Wooden Bo.png | ||
| name = Wooden Bo | | name = Wooden Bo | ||
| + | | icon = File:Wooden Bo Icon.png | ||
| + | | acquisition = Standard Loot Drops | ||
}} | }} | ||
|| | || | ||
{{Weapon Display | {{Weapon Display | ||
| + | | image = File:Medieval Stick.png | ||
| name = Medieval Stick | | name = Medieval Stick | ||
| + | | icon = File:Medieval Stick Icon.png | ||
| rotation = 40 | | rotation = 40 | ||
| + | | acquisition = Standard Loot Drops | ||
}} | }} | ||
|| | || | ||
{{Weapon Display | {{Weapon Display | ||
| + | | image = File:Bell Ringer.png | ||
| name = Bell Ringer | | name = Bell Ringer | ||
| + | | icon = File:Bell Ringer Icon.png | ||
| rotation = 40 | | rotation = 40 | ||
| + | | acquisition = Standard Loot Drops | ||
}} | }} | ||
|| | || | ||
{{Weapon Display | {{Weapon Display | ||
| + | | image = File:Bamboo Stick.png | ||
| name = Bamboo Stick | | name = Bamboo Stick | ||
| + | | icon = File:Bamboo Stick Icon.png | ||
| rotation = 40 | | rotation = 40 | ||
| + | | acquisition = Standard Loot Drops | ||
}} | }} | ||
|} | |} | ||
| Line 97: | Line 109: | ||
| | | | ||
<!---''All Sturdy Polearms are obtained though standard loot drops and will always roll in standard stats.''---> | <!---''All Sturdy Polearms are obtained though standard loot drops and will always roll in standard stats.''---> | ||
| − | + | {{Weapon Display | |
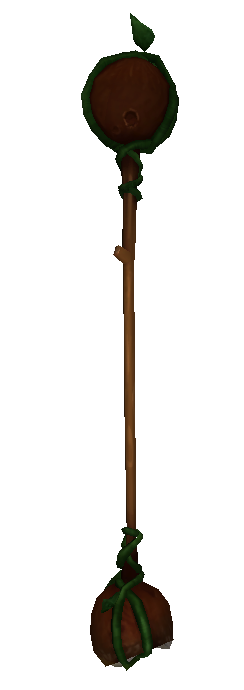
| − | File: | + | | image = File:Coconut Butt.png |
| − | + | | name = Coconut Butt | |
| − | + | | icon = File:Coconut_Butt_Icon.png | |
| − | + | | rotation = 40 | |
| + | | acquisition = Standard Loot Drops | ||
| + | }} | ||
|| | || | ||
| − | + | {{Weapon Display | |
| − | File: | + | | image = File:Turtle Power.png |
| − | + | | name = Turtle Power | |
| − | + | | icon = File:Turtle_Power_Icon.png | |
| − | + | | rotation = 40 | |
| + | | acquisition = Standard Loot Drops | ||
| + | }} | ||
|| | || | ||
| − | + | {{Weapon Display | |
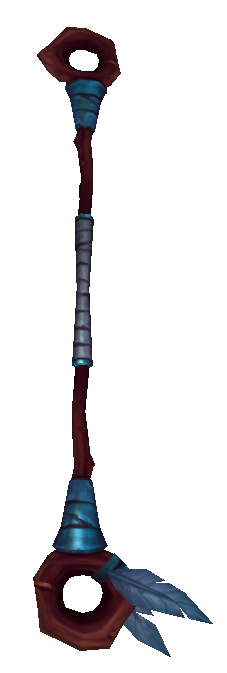
| − | File: | + | | image = File:Dreamcatcher.png |
| − | + | | name = Dreamcatcher | |
| − | + | | icon = File:Dreamcatcher_Icon.png | |
| − | + | | rotation = 40 | |
| + | | acquisition = Standard Loot Drops | ||
| + | }} | ||
|| | || | ||
| − | + | {{Weapon Display | |
| − | File: | + | | image = File:Riddler.png |
| − | + | | name = Riddler | |
| − | + | | icon = File:Riddler_Icon.png | |
| − | + | | rotation = 40 | |
| + | | acquisition = Standard Loot Drops | ||
| + | }} | ||
|| | || | ||
| − | + | {{Weapon Display | |
| − | File: | + | | image = File:Mico' Cane.png |
| − | + | | name = Mico' Cane | |
| − | + | | icon = File:Mico%27_Cane_Icon.png | |
| − | + | | rotation = 40 | |
| − | || | + | | acquisition = Standard Loot Drops |
| − | + | }} | |
| − | File: | + | || |
| − | + | {{Weapon Display | |
| − | + | | image = File:Golden Scepter.png | |
| − | + | | name = Golden Scepter | |
| + | | icon = File:Golden_Scepter_Icon.png | ||
| + | | rotation = 40 | ||
| + | | acquisition = Standard Loot Drops | ||
| + | }} | ||
|- | |- | ||
| | | | ||
| − | + | {{Weapon Display | |
| − | File: | + | | image = File:Training Bo.png |
| − | + | | name = Training Bo | |
| − | + | | icon = File:Training_Bo_Icon.png | |
| − | + | | rotation = 40 | |
| + | | acquisition = Standard Loot Drops | ||
| + | }} | ||
|} | |} | ||
|-| | |-| | ||
| Line 147: | Line 173: | ||
| | | | ||
{{Weapon Display | {{Weapon Display | ||
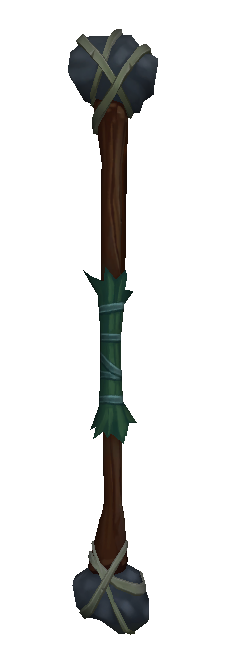
| + | | image = File:The Flintstone.png | ||
| name = The Flintstone | | name = The Flintstone | ||
| + | | icon = File:The Flintstone Icon.png | ||
| rotation = 40 | | rotation = 40 | ||
| + | | acquisition = Standard Loot Drops | ||
}} | }} | ||
|| | || | ||
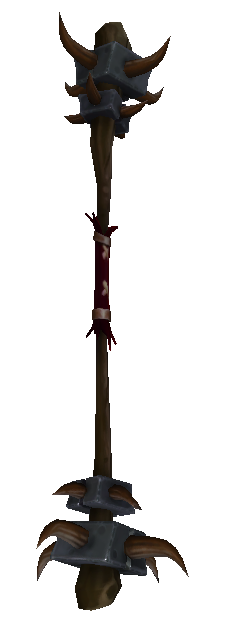
{{Weapon Display | {{Weapon Display | ||
| + | | image = File:Sharpened Bloodthorn.png | ||
| name = Sharpened Bloodthorn | | name = Sharpened Bloodthorn | ||
| + | | icon = File:Sharpened Bloodthorn Icon.png | ||
| rotation = 40 | | rotation = 40 | ||
| + | | acquisition = Standard Loot Drops | ||
}} | }} | ||
|| | || | ||
{{Weapon Display | {{Weapon Display | ||
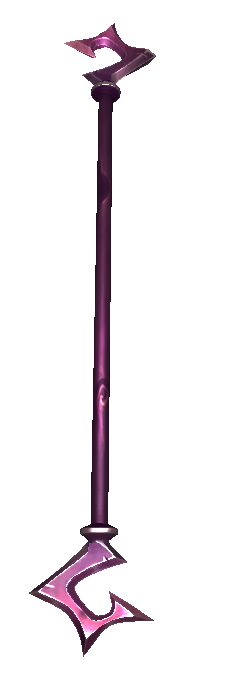
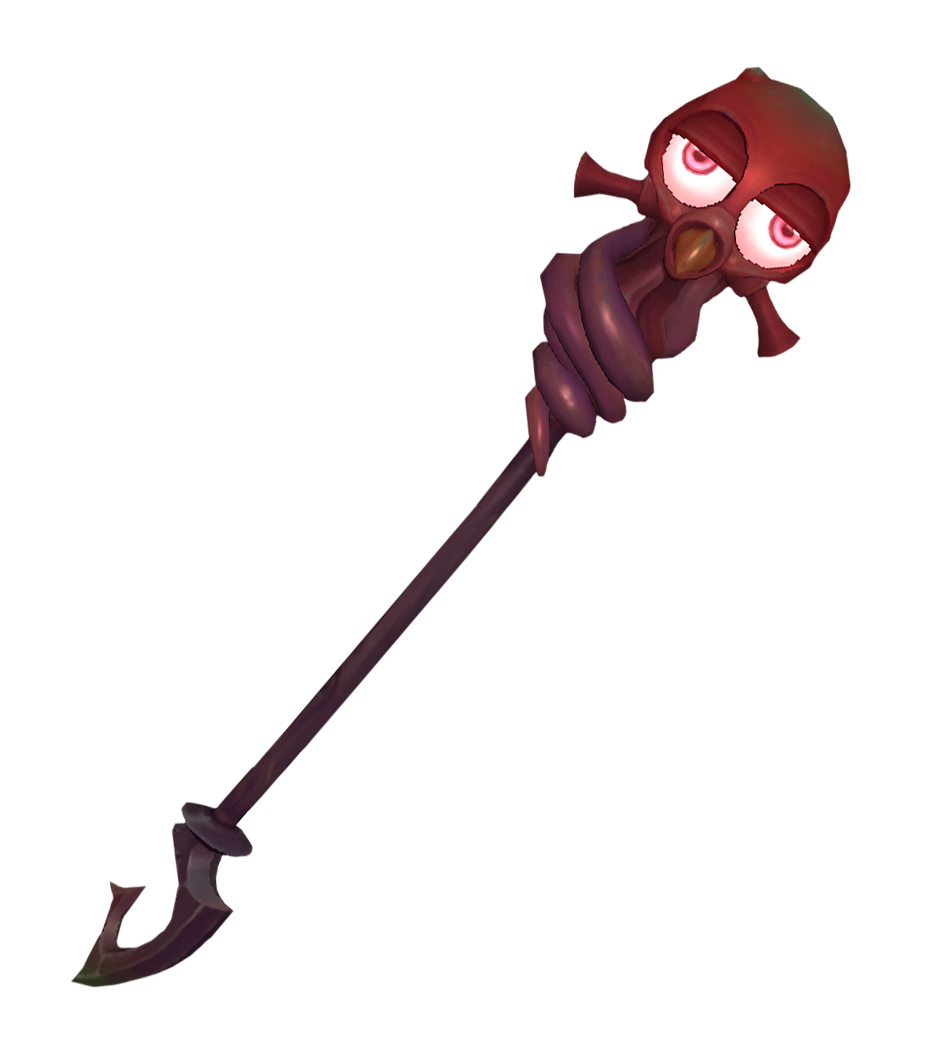
| + | | image = File:Sleepy Octopod.png | ||
| name = Sleepy Octopod | | name = Sleepy Octopod | ||
| + | | icon = File:Sleepy Octopod Icon.png | ||
| + | | acquisition = Standard Loot Drops | ||
}} | }} | ||
|| | || | ||
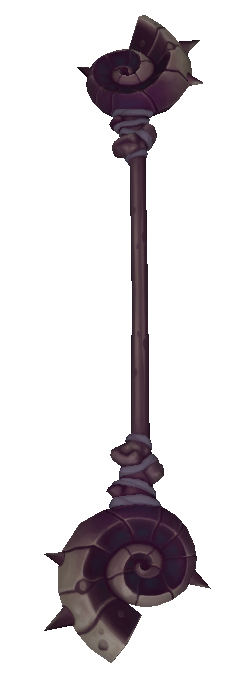
{{Weapon Display | {{Weapon Display | ||
| + | | image = File:Studded Conch.png | ||
| name = Studded Conch | | name = Studded Conch | ||
| + | | icon = File:Studded Conch Icon.png | ||
| rotation = 40 | | rotation = 40 | ||
| + | | acquisition = Standard Loot Drops | ||
}} | }} | ||
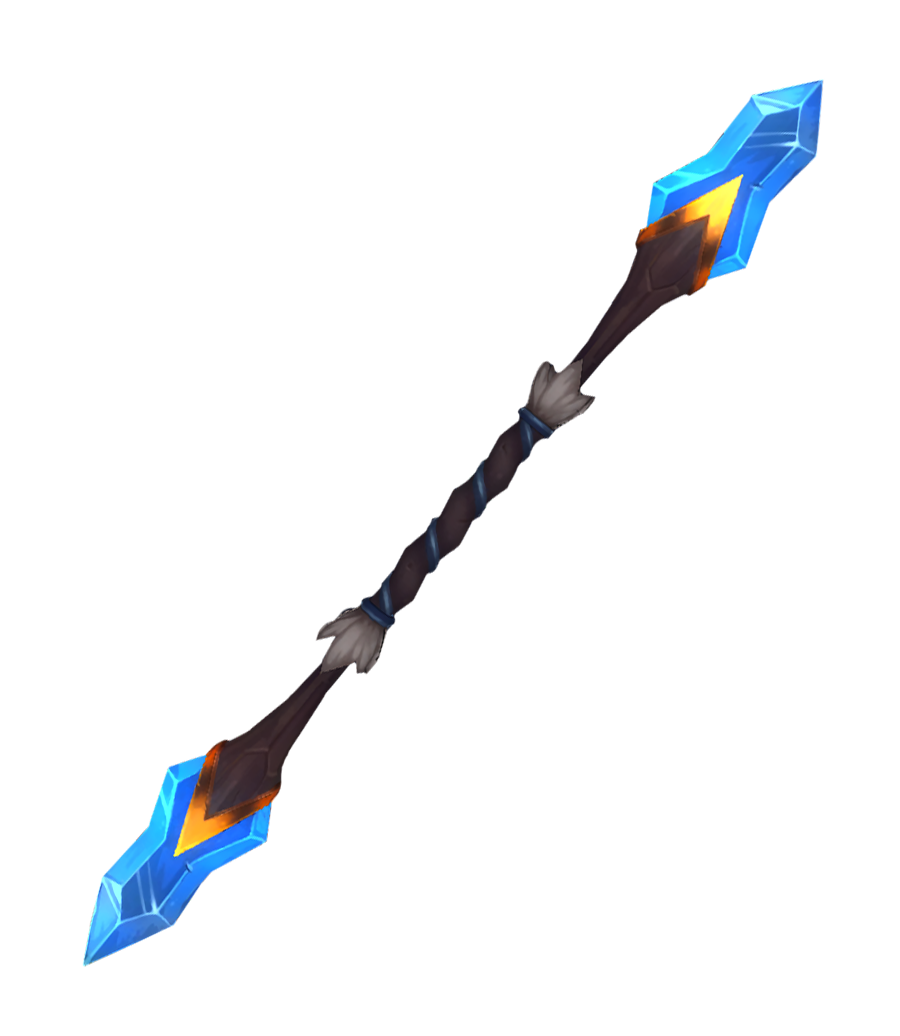
|| | || | ||
{{Weapon Display | {{Weapon Display | ||
| + | | image = File:Crystallized Shard.png | ||
| name = Crystallized Shard | | name = Crystallized Shard | ||
| + | | icon = File:Crystallized Shard Icon.png | ||
| + | | acquisition = Standard Loot Drops | ||
}} | }} | ||
|| | || | ||
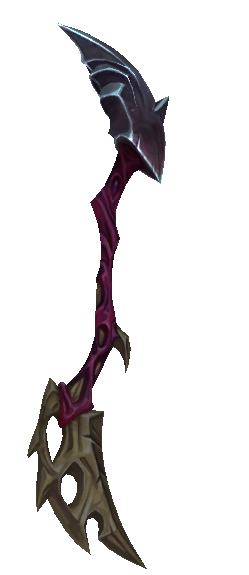
{{Weapon Display | {{Weapon Display | ||
| + | | image = File:Ghastly Gargoyle.png | ||
| name = Ghastly Gargoyle | | name = Ghastly Gargoyle | ||
| + | | icon = File:Ghastly Gargoyle Icon.png | ||
| + | | acquisition = Standard Loot Drops | ||
}} | }} | ||
|- | |- | ||
| | | | ||
{{Weapon Display | {{Weapon Display | ||
| + | | image = File:Iron Bo.png | ||
| name = Iron Bo | | name = Iron Bo | ||
| + | | icon = File:Iron Bo Icon.png | ||
| rotation = 40 | | rotation = 40 | ||
| + | | acquisition = Standard Loot Drops | ||
}} | }} | ||
|| | || | ||
{{Weapon Display | {{Weapon Display | ||
| + | | image = File:Indigo Crush.png | ||
| name = Indigo Crush | | name = Indigo Crush | ||
| + | | icon = File:Indigo Crush Icon.png | ||
| + | | acquisition = Standard Loot Drops | ||
}} | }} | ||
|| | || | ||
{{Weapon Display | {{Weapon Display | ||
| + | | image = File:Sharpened Spear.png | ||
| name = Sharpened Spear | | name = Sharpened Spear | ||
| + | | icon = File:Sharpened Spear Icon.png | ||
| rotation = 40 | | rotation = 40 | ||
| + | | acquisition = Standard Loot Drops | ||
}} | }} | ||
|} | |} | ||
| Line 195: | Line 248: | ||
| | | | ||
{{Weapon Display | {{Weapon Display | ||
| + | | image = File:Charmed Crustace.png | ||
| name = Charmed Crustace | | name = Charmed Crustace | ||
| + | | icon = File:Charmed Crustace Icon.png | ||
| rotation = 40 | | rotation = 40 | ||
| + | | acquisition = Standard Loot Drops | ||
}} | }} | ||
|| | || | ||
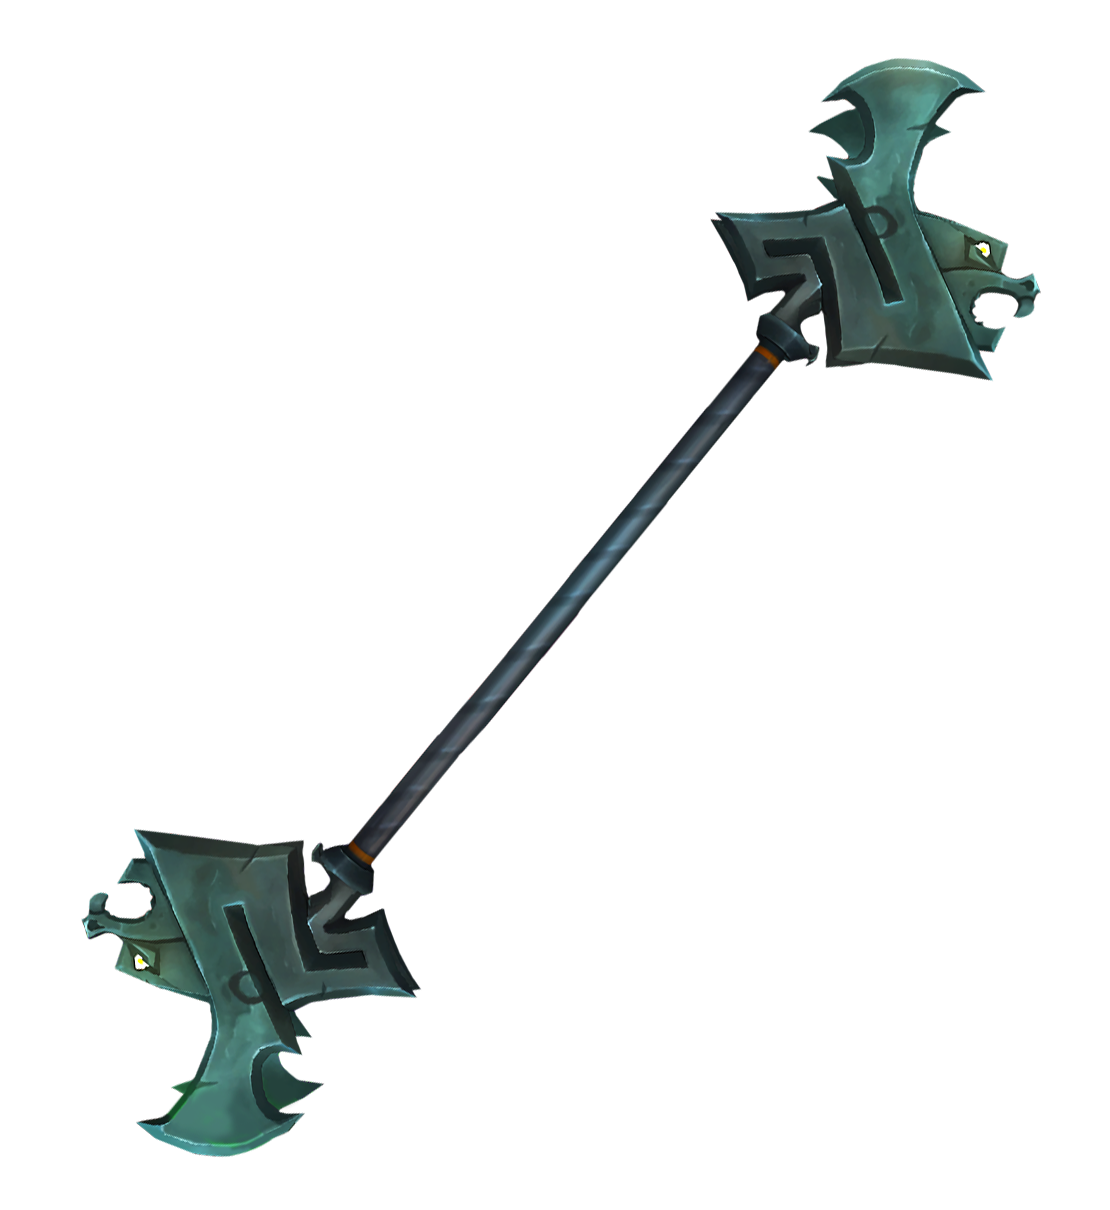
{{Weapon Display | {{Weapon Display | ||
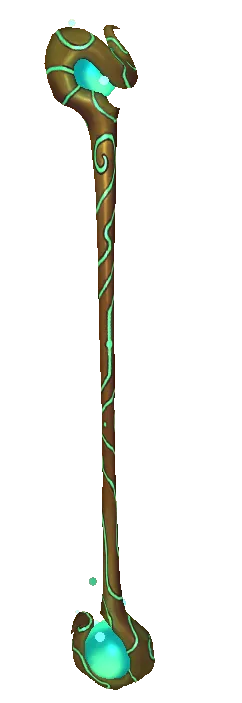
| + | | image = File:Rune Scepter.png | ||
| name = Rune Scepter | | name = Rune Scepter | ||
| + | | icon = File:Rune Scepter Icon.png | ||
| rotation = 40 | | rotation = 40 | ||
| + | | acquisition = Standard Loot Drops | ||
}} | }} | ||
|| | || | ||
{{Weapon Display | {{Weapon Display | ||
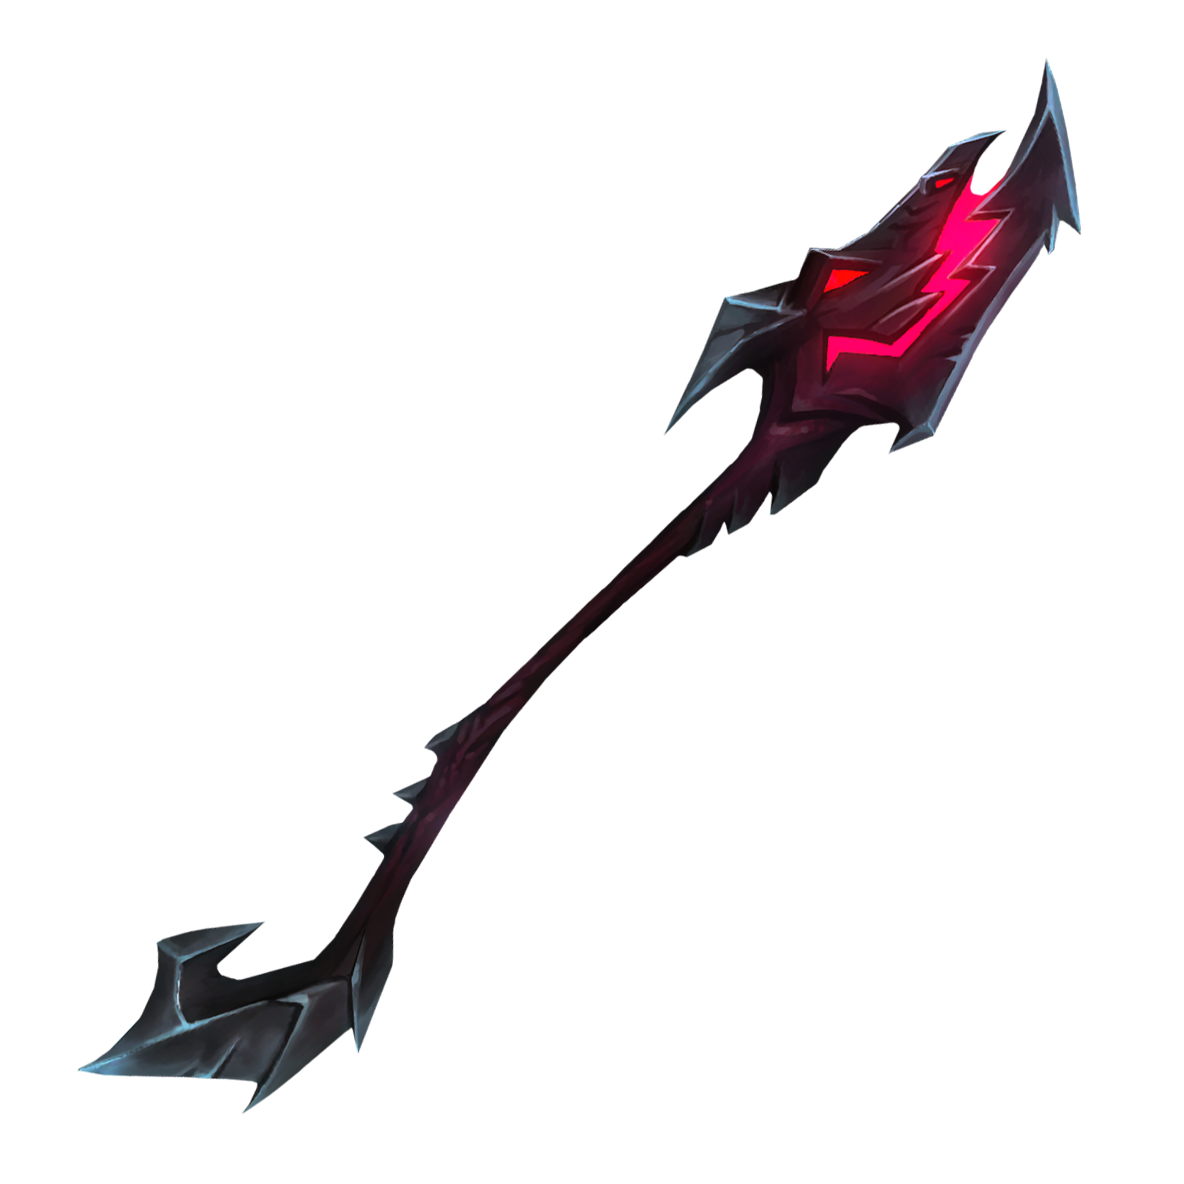
| + | | image = File:Skullforger.png | ||
| name = Skullforger | | name = Skullforger | ||
| + | | icon = File:Skullforger Icon.png | ||
| + | | acquisition = Standard Loot Drops | ||
}} | }} | ||
|| | || | ||
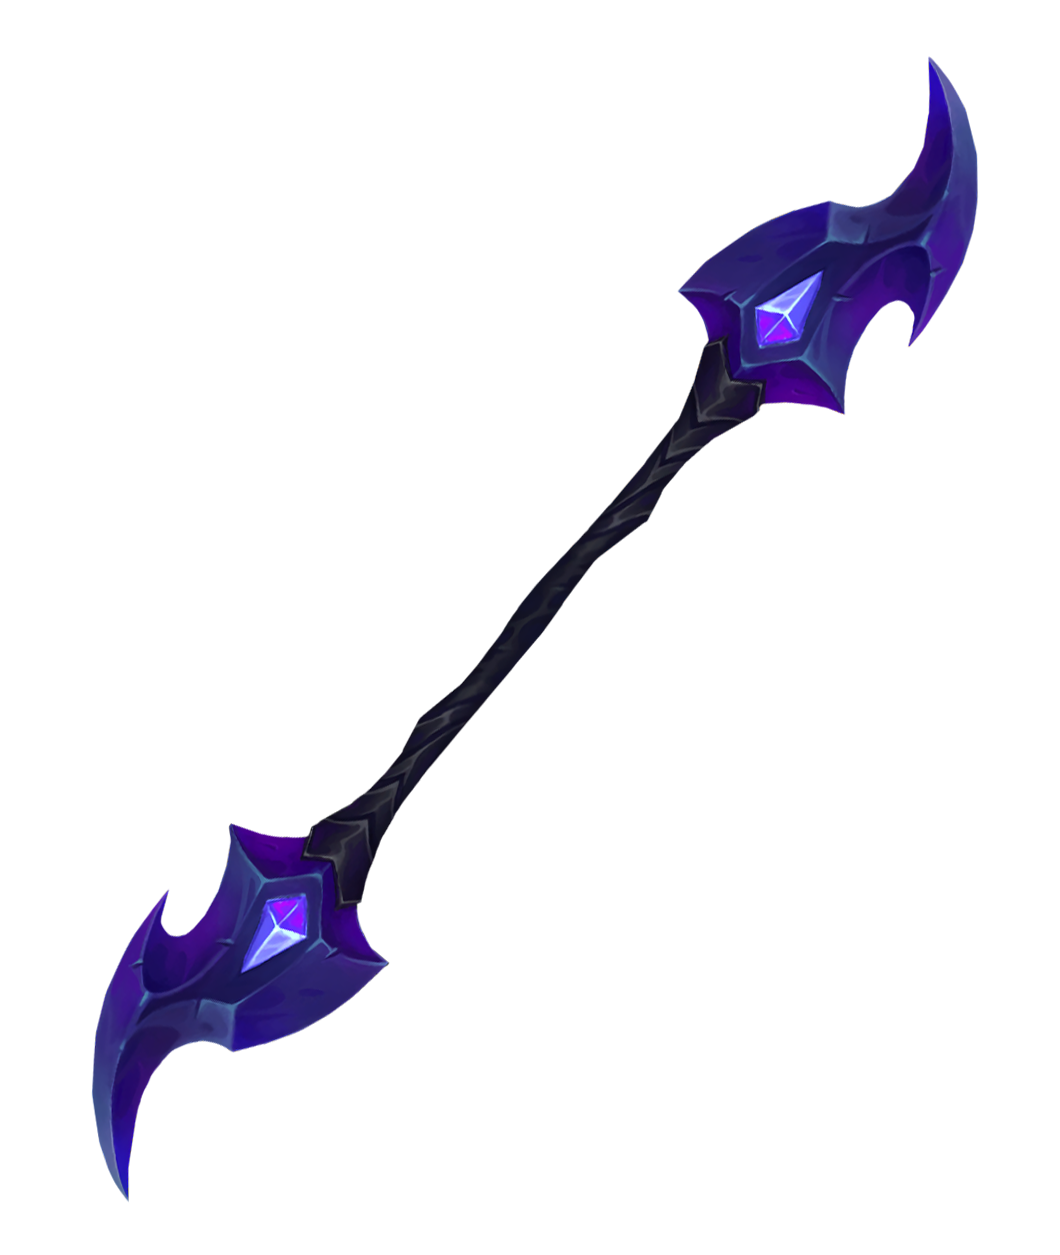
{{Weapon Display | {{Weapon Display | ||
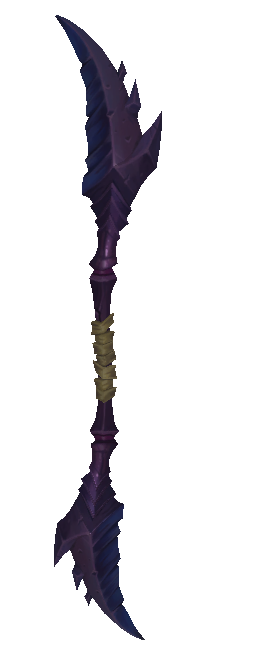
| + | | image = File:Midnight Watcher.png | ||
| name = Midnight Watcher | | name = Midnight Watcher | ||
| + | | icon = File:Midnight Watcher Icon.png | ||
| rotation = 220 | | rotation = 220 | ||
| + | | acquisition = Standard Loot Drops | ||
}} | }} | ||
|| | || | ||
{{Weapon Display | {{Weapon Display | ||
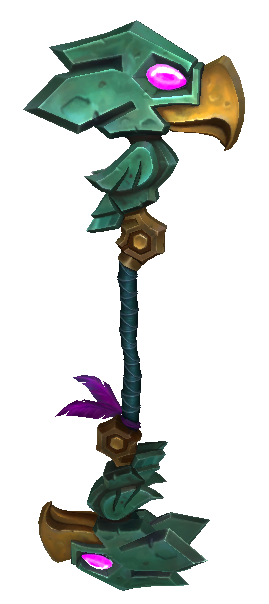
| + | | image = File:Eagle Eye.png | ||
| name = Eagle Eye | | name = Eagle Eye | ||
| + | | icon = File:Eagle Eye Icon.png | ||
| rotation = 40 | | rotation = 40 | ||
| + | | acquisition = Standard Loot Drops | ||
}} | }} | ||
|| | || | ||
{{Weapon Display | {{Weapon Display | ||
| + | | image = File:Reforged Champion.png | ||
| name = Reforged Champion | | name = Reforged Champion | ||
| + | | icon = File:Reforged Champion Icon.png | ||
| rotation = 40 | | rotation = 40 | ||
| + | | acquisition = Standard Loot Drops | ||
}} | }} | ||
|} | |} | ||
| Line 230: | Line 301: | ||
| | | | ||
{{Weapon Display | {{Weapon Display | ||
| + | | image = File:Steampunkithump.png | ||
| name = Steampunkithump | | name = Steampunkithump | ||
| + | | icon = File:Steampunkithump Icon.png | ||
| rotation = 40 | | rotation = 40 | ||
| + | | acquisition = Standard Loot Drops | ||
}} | }} | ||
|| | || | ||
{{Weapon Display | {{Weapon Display | ||
| + | | image = File:Aftershock.png | ||
| name = Aftershock | | name = Aftershock | ||
| + | | icon = File:Aftershock Icon.png | ||
| rotation = 40 | | rotation = 40 | ||
| + | | acquisition = Standard Loot Drops | ||
}} | }} | ||
|} | |} | ||
Revision as of 23:22, 23 October 2023
Weapon Details
| Weight | Swing 1 | Swing 2 | Swing 3 | Swing 4 | Swing 5 | Swing 6 | Swing 7 |
|---|---|---|---|---|---|---|---|
| Light | 0.33 | 0.33 | 0.33 | 1.4 | 1.8 | 2.3 | 2.8 |
| Medium | 1 | 2.25 | 3.25 | - | - | - | - |
| Heavy | 1.5 | 2 | 2.75 | 3.5 | - | - | - |
| Weight | Swing 1 | Swing 2 | Swing 3 | Swing 4 | Swing 5 | Swing 6 | Swing 7 | Swing 8 |
|---|---|---|---|---|---|---|---|---|
| Light | 1 | 1.2 | 1.4 | 1.7 | 2 | 2.3 | 2.6 | 2.9 |
| Medium | 1 | 1.75 | 2.5 | 3.25 | - | - | - | - |
| Heavy | 1.5 | 3 | 4.25 | - | - | - | - | - |
| Shot Type | Multiplier |
|---|---|
| Standard x1 | 0.75 |
| Standard x3 | 0.27 |
| Standard x5 | 0.175 |
| Phoenix Tail Spear x1 | 0.715 |
| Spear of Corruption x3 | 0.238 |
| Earth Guardian's Spear x1 | 0.78 |
| Shot Type | Multiplier |
|---|---|
| Standard x1 | 0.75 |
| Standard x3 | 0.27 |
| Standard x5 | 0.175 |
| Phoenix Tail Spear x1 | 0.715 |
| Spear of Corruption x3 | 0.238 |
| Earth Guardian's Spear x1 | 0.78 |
List of Polearms
Unique
Prime
Exclusive
