Difference between revisions of "Cores and sub-cores"
From Dungeon Defenders 2 Wiki
| (3 intermediate revisions by the same user not shown) | |||
| Line 18: | Line 18: | ||
=Gallery= | =Gallery= | ||
{{Stub}} | {{Stub}} | ||
| + | {| class="wikitable" | ||
| + | || | ||
| + | <gallery heights=200px widths=200px> | ||
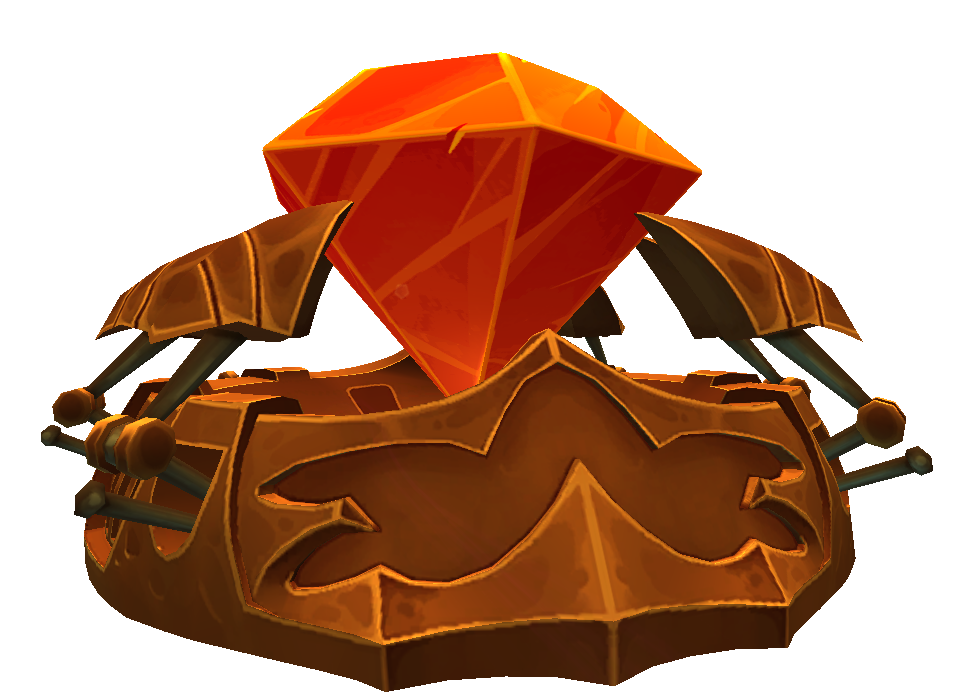
| + | File:Orange Crystal Core.png|Standard Orange Core | ||
| + | </gallery> | ||
| + | || | ||
| + | <gallery heights=200px widths=200px> | ||
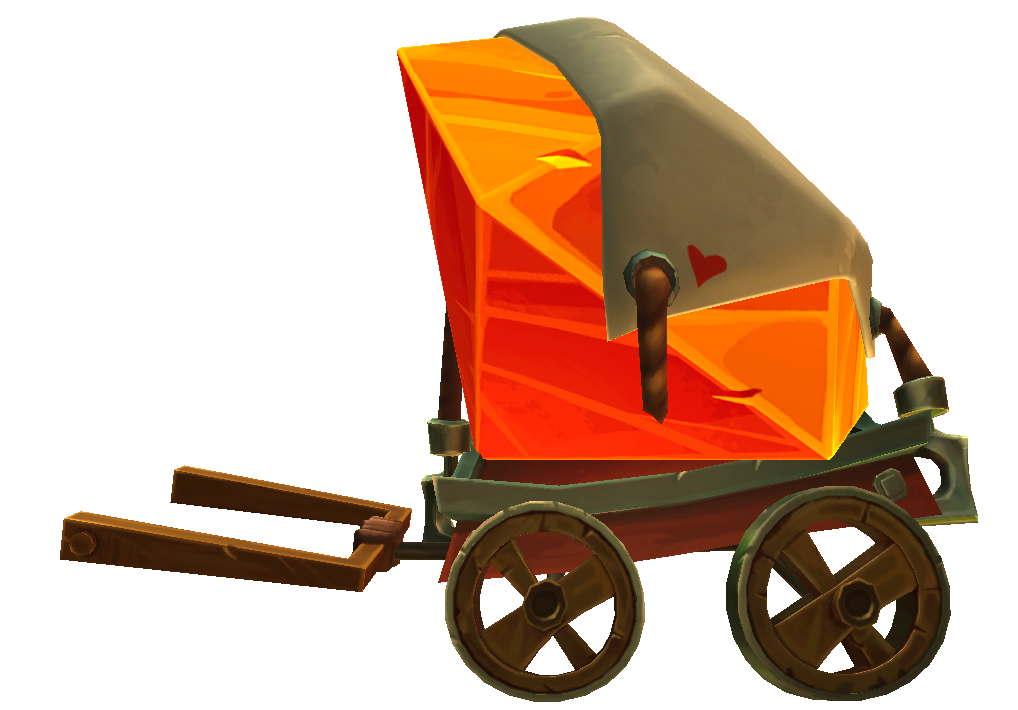
| + | File:Orange Crystal Core on Cart.png|Standard Orange Core on a Cart | ||
| + | </gallery> | ||
| + | || | ||
| + | <gallery heights=200px widths=200px> | ||
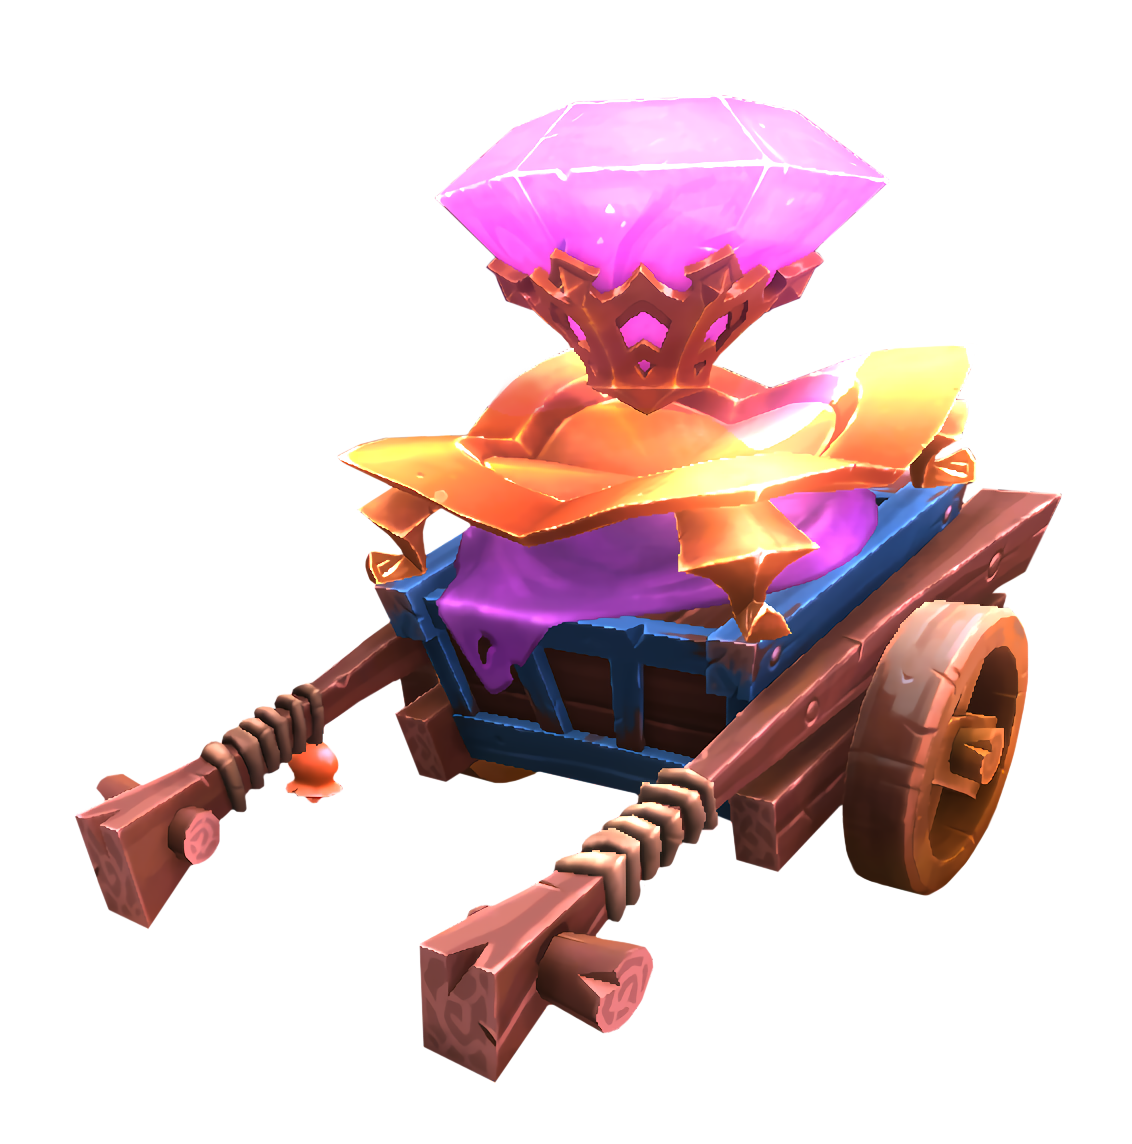
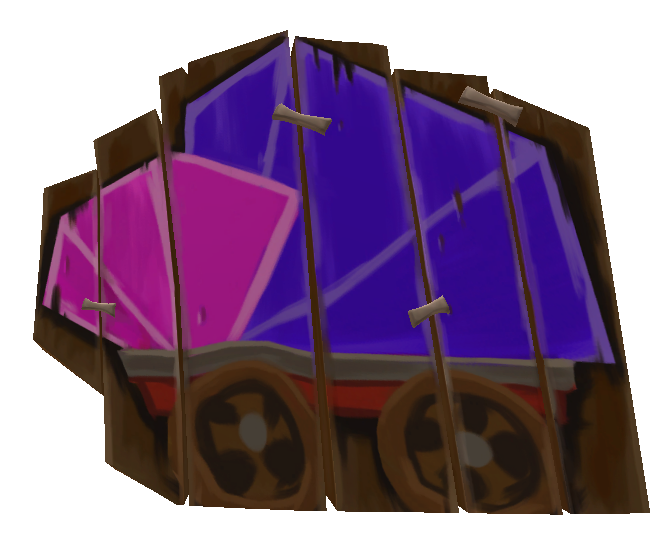
| + | File:Crystal Cart.png|Standard Pink Core on a Cart | ||
| + | </gallery> | ||
| + | |- | ||
| + | | | ||
| + | <gallery heights=200px widths=200px> | ||
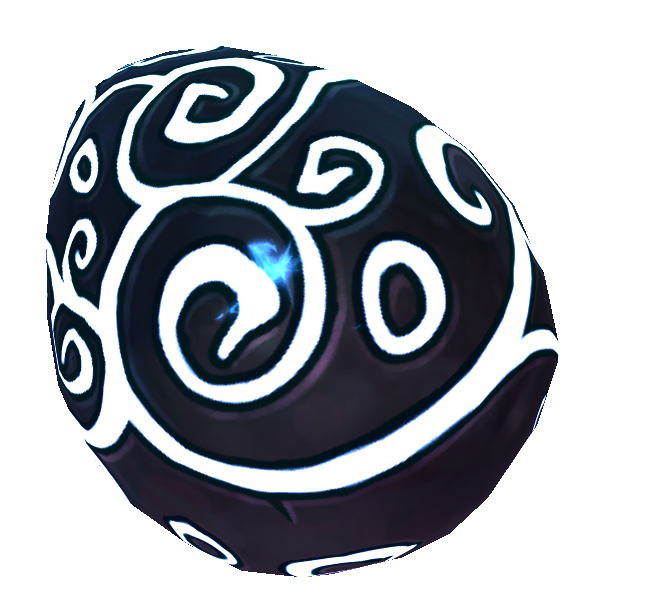
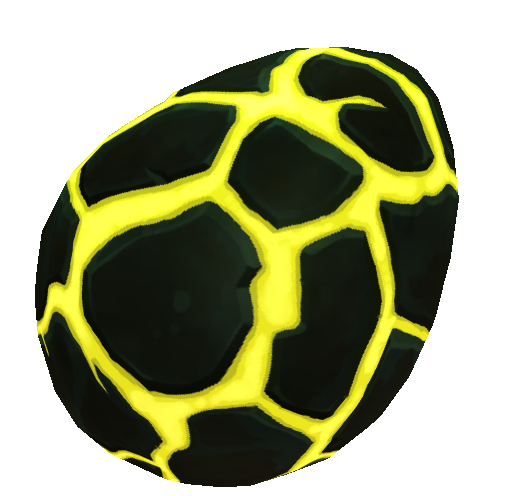
| + | File:Wyvern's Den Core 1.png|Wyvern's Den Egg 1 | ||
| + | </gallery> | ||
| + | || | ||
| + | <gallery heights=200px widths=200px> | ||
| + | File:Wyvern's Den Core 2.png||Wyvern's Den Egg 2 | ||
| + | </gallery> | ||
| + | || | ||
| + | <gallery heights=200px widths=200px> | ||
| + | File:Wyvern's Den Core 3.png||Wyvern's Den Egg 3 | ||
| + | </gallery> | ||
| + | |- | ||
| + | | | ||
| + | <gallery heights=200px widths=200px> | ||
| + | File:Totally Normal Crystal Core.png|Wild Westival Main Core | ||
| + | </gallery> | ||
| + | || | ||
| + | <gallery heights=200px widths=200px> | ||
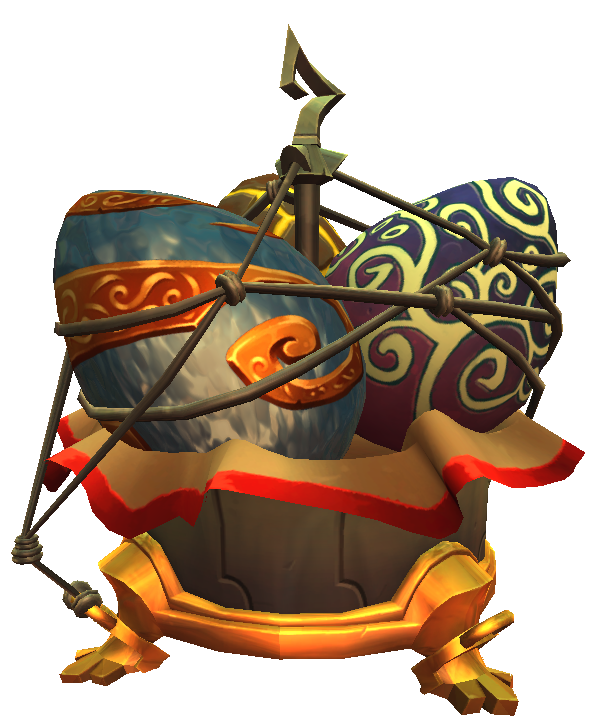
| + | File:Liferoot Forest Eggs.png|Eggs in Liferoot Forest | ||
| + | </gallery> | ||
| + | || | ||
| + | <gallery heights=200px widths=200px> | ||
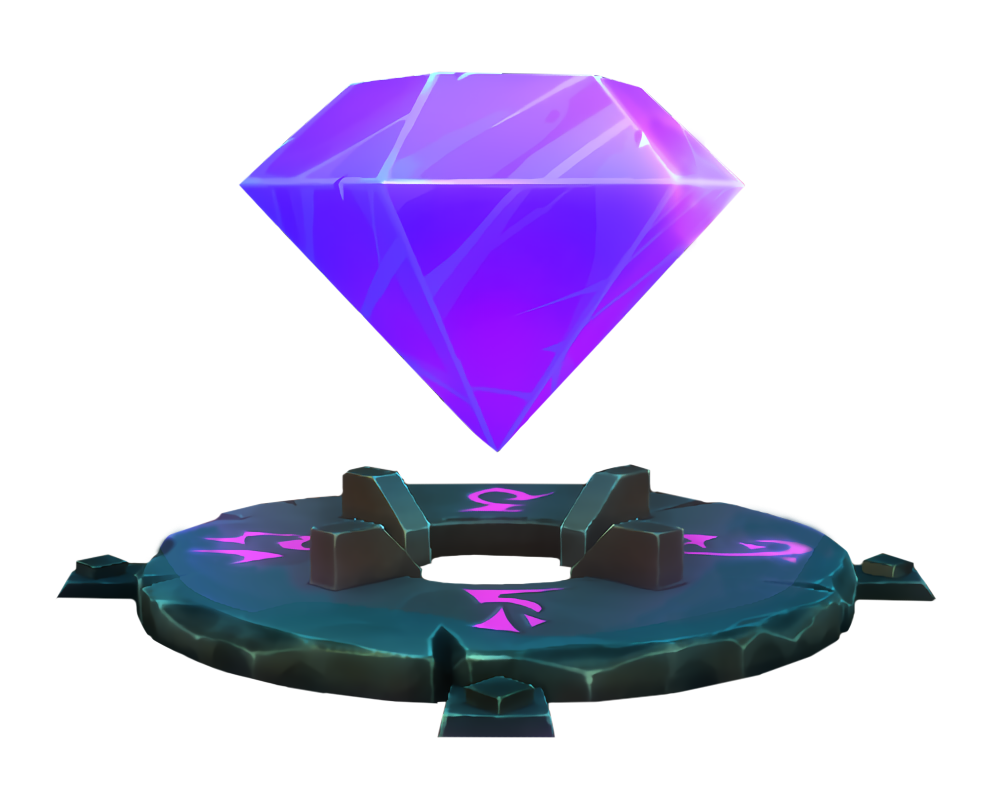
| + | File:Ship Crystal.png|Pink Core on Plunderer's Paradise | ||
| + | </gallery> | ||
| + | |} | ||
| − | [[ | + | [[Category:Dungeon Defenders 2]] [[Category:Maps]] |
| − | |||
| − | |||
| − | [[Category: | ||
Latest revision as of 00:41, 20 November 2023
Crystal Cores
- Main Objectives are marked on the mini-map with a red trimmed yellow Shield Icon.
- Defending the Crystal Core(s) is the main objective in order to complete any map.
If any Main Core gets destroyed the map will fail. - The Amount of HP a Core has depends on difficulty and map.
Sub Objectives
- Sub Objectives can be identified by the spinning Grey shield above them.
- Sub Objectives are a secondary type of "core" to protect. If the Sub Objective gets destroyed the map won't fail but a new lane often opens on the next wave. If you lose the Sub Objective on the last wave it can be ignored.
- The Amount of HP a Sub Objective has depends on difficulty and map.
- Keeping Sub Objectives alive until the end of the map will yield bonus experience.
Gallery
|
|
|
|
|
|
|
|
|
|
|
|
