Difference between revisions of "Relics"
From Dungeon Defenders 2 Wiki
(Created page with " ==Types of Relics== ===Medallions=== Affects: Defense Power {{stub}} ===Totems=== Affects: Defense Health {{stub}}...") |
m (→Types of Relics) |
||
| (33 intermediate revisions by 10 users not shown) | |||
| Line 1: | Line 1: | ||
| + | [[File:Medallion and Totem Outline.png|right]] | ||
| + | ==Overview== | ||
| − | + | :<u>Marks and Orbs both scale the same way like Medallions.</u> | |
| − | + | * Marks and Orbs no longer drop.<br> Orbs were removed from the drop pool during the Ancient's Prelude patch (Update 1.2) and Marks were removed during Protean Shift Expansion (3.0). | |
| − | + | * Medallions, Marks, and Orbs are best to use on DPS and buffing [[defenses]] because it has more [[Defense Power|defense power]] than a totem as it prioritizes Defense Power as the primary stat. | |
| − | + | * Totems are best to use on [[Defenses #Blockades|Blockades]] because it has more [[Defense Health|defense health]] than Medallions, Marks, and Orbs because Health is the primary stat. | |
| + | * Primary and Secondary stats can not be rerolled to another type. | ||
| + | * When relics reaches the godly rarity level, 1 random Tertiary stat will appear that can be <u>Crit Chance</u>, <u>Crit Damage</u>, <u>Defense Range</u>, or <u>Defense Resistance</u>. | ||
| + | <br> | ||
| + | <gallery widths=60px heights=60px perrow=7> | ||
| + | :File:Defense Power Icon.png|Defense Power | ||
| + | :File:Defense Health Icon.png|Defense Health | ||
| + | :File:Defense Crit Chance Icon.png|Defense Crit Chance | ||
| + | :File:Defense Crit Damage Icon.png|Defense Crit Damage | ||
| + | :File:Defense Range Icon.png|Defense Range | ||
| + | :File:Defense Resist Icon.png|Defense Resist | ||
| + | </gallery> | ||
| − | == | + | ==Stat Ranges== |
| − | + | {{Medallion Stats}} | |
| − | {{ | + | {{Totem Stats}} |
| − | === | + | ==Quality== |
| − | + | {{Item Quality}} | |
| − | {{ | ||
| − | == | + | === Types of Relics === |
| − | == | ||
| − | |||
| − | === | + | <tabber> |
| − | + | Medallions= | |
| + | ===Worn Set=== | ||
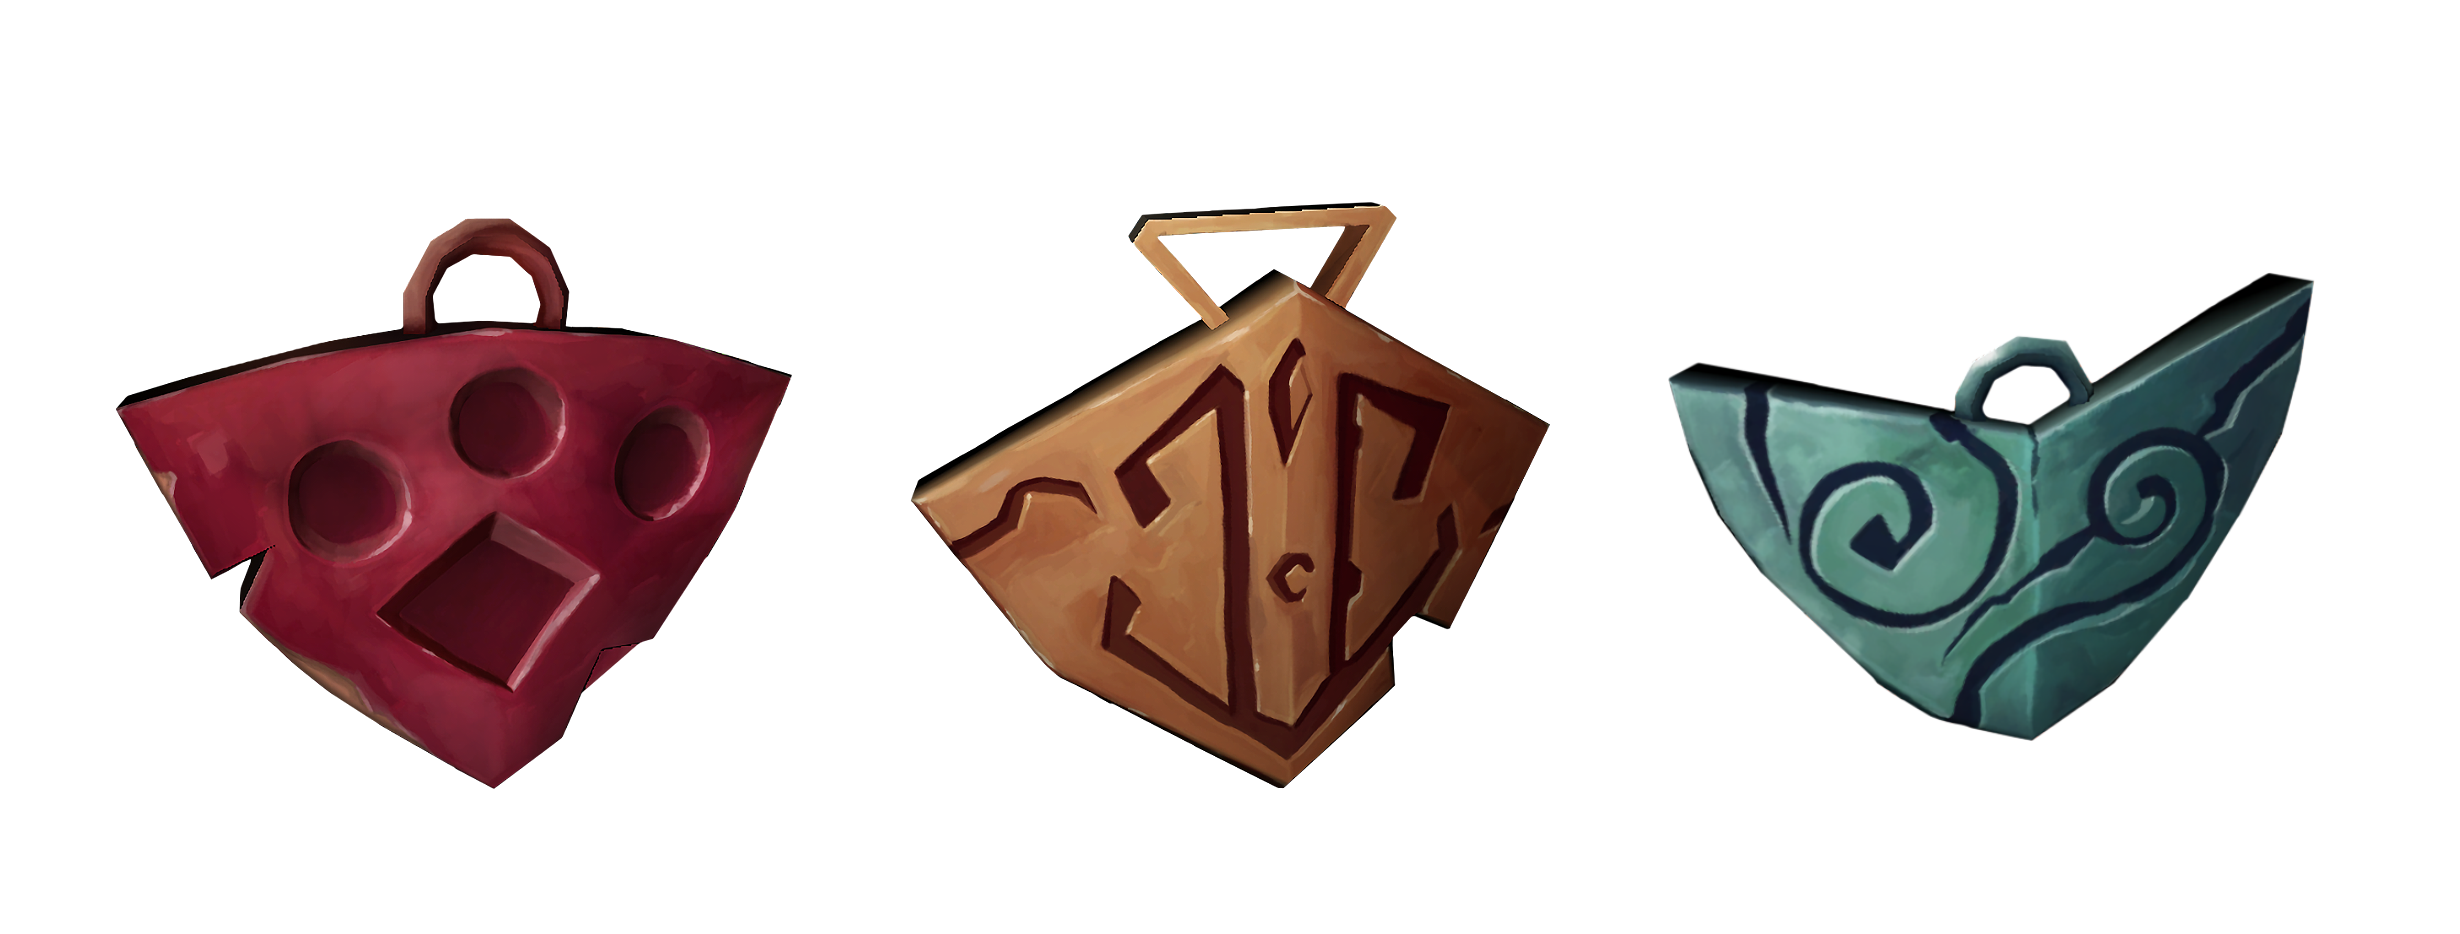
| + | [[File:Worn Medallions.png|250px]]<br> | ||
| + | ===Sturdy Set=== | ||
| + | [[File:Sturdy Medallions.png|250px]]<br> | ||
| + | ===Powerful Set=== | ||
| + | [[File:Powerful Medallions.png|250px]]<br> | ||
| + | ===Epic Set=== | ||
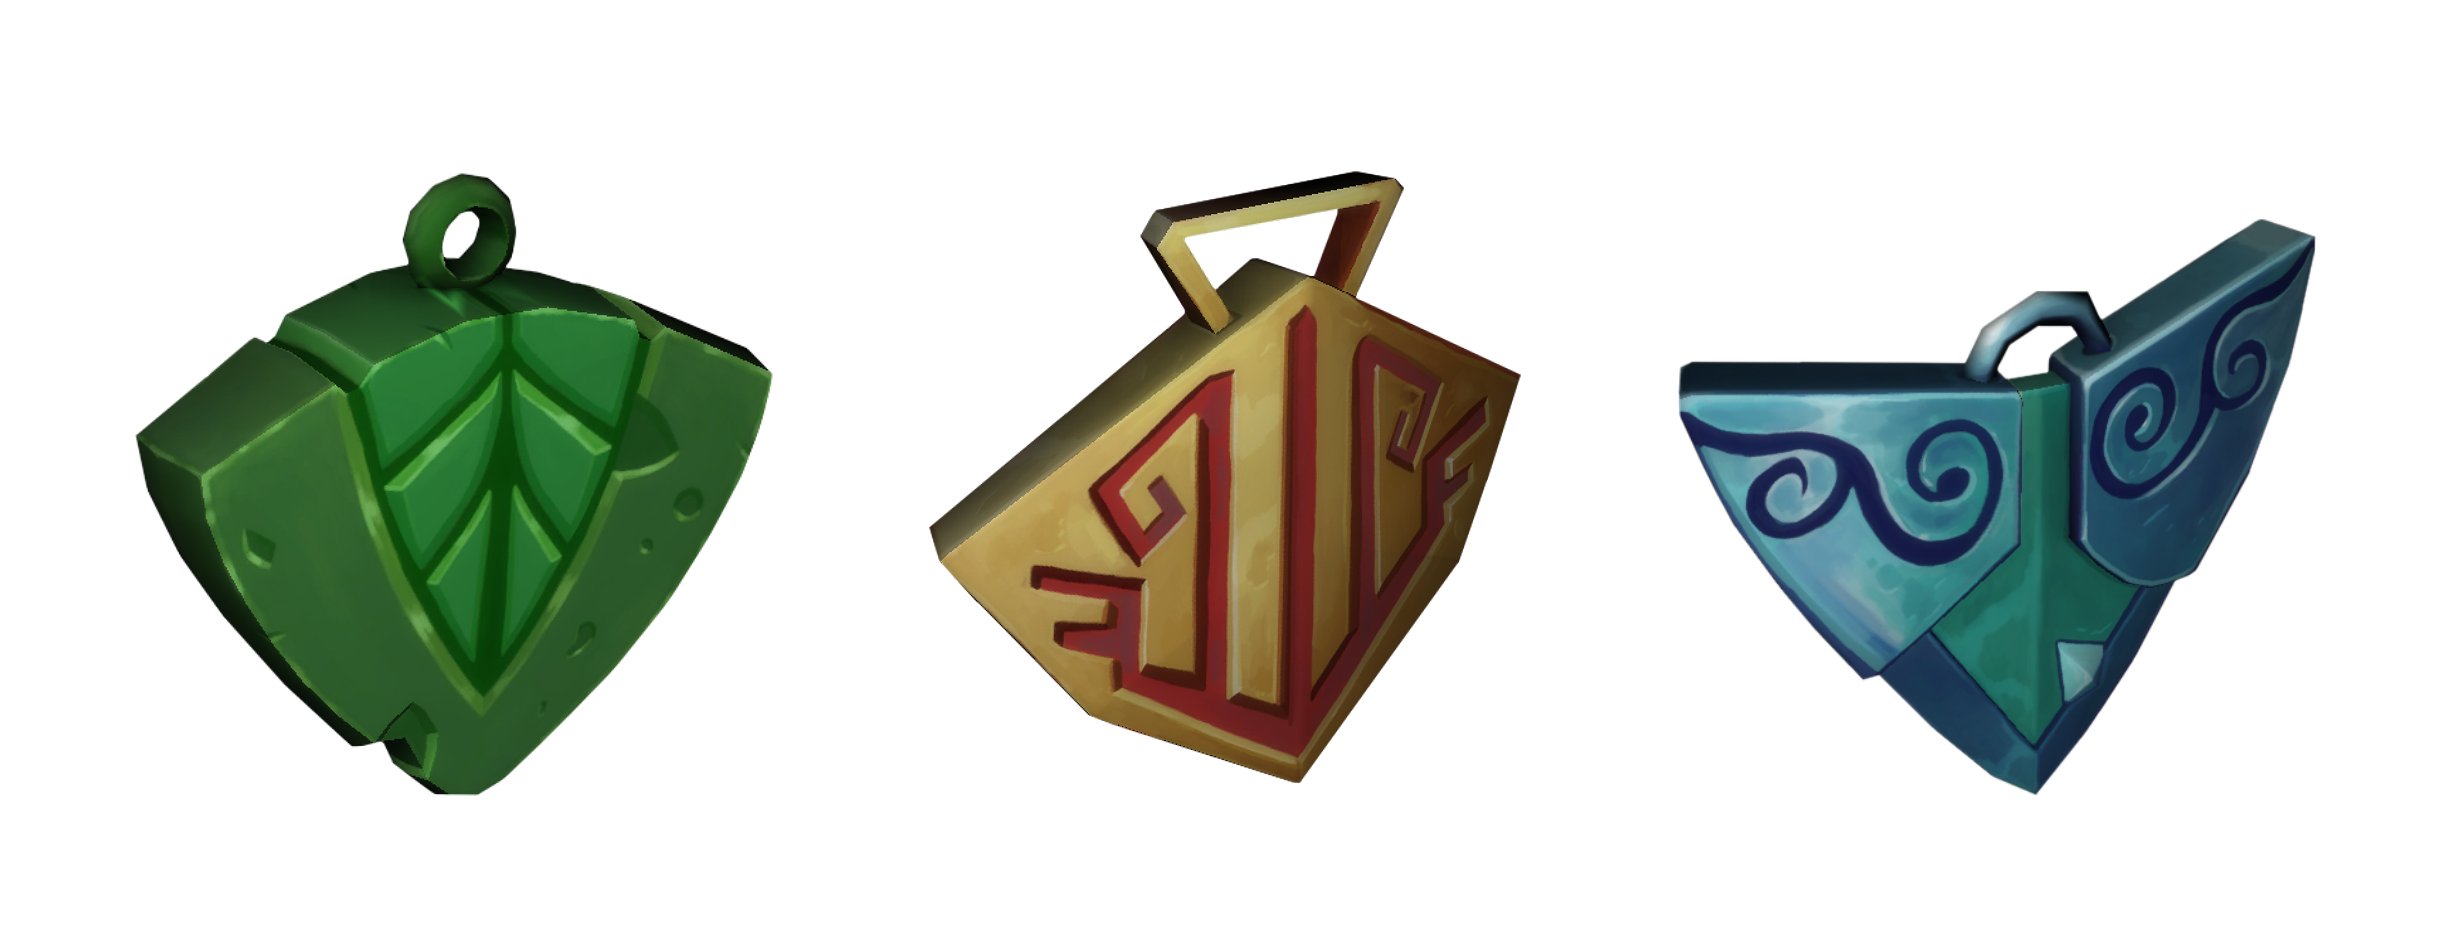
| + | [[File:Epic Medallions.png|100px]]<br> | ||
| + | ===Mythical Set=== | ||
| + | [[File:Mythical Medallions.png|250px]]<br> | ||
| + | ===Legendary Set=== | ||
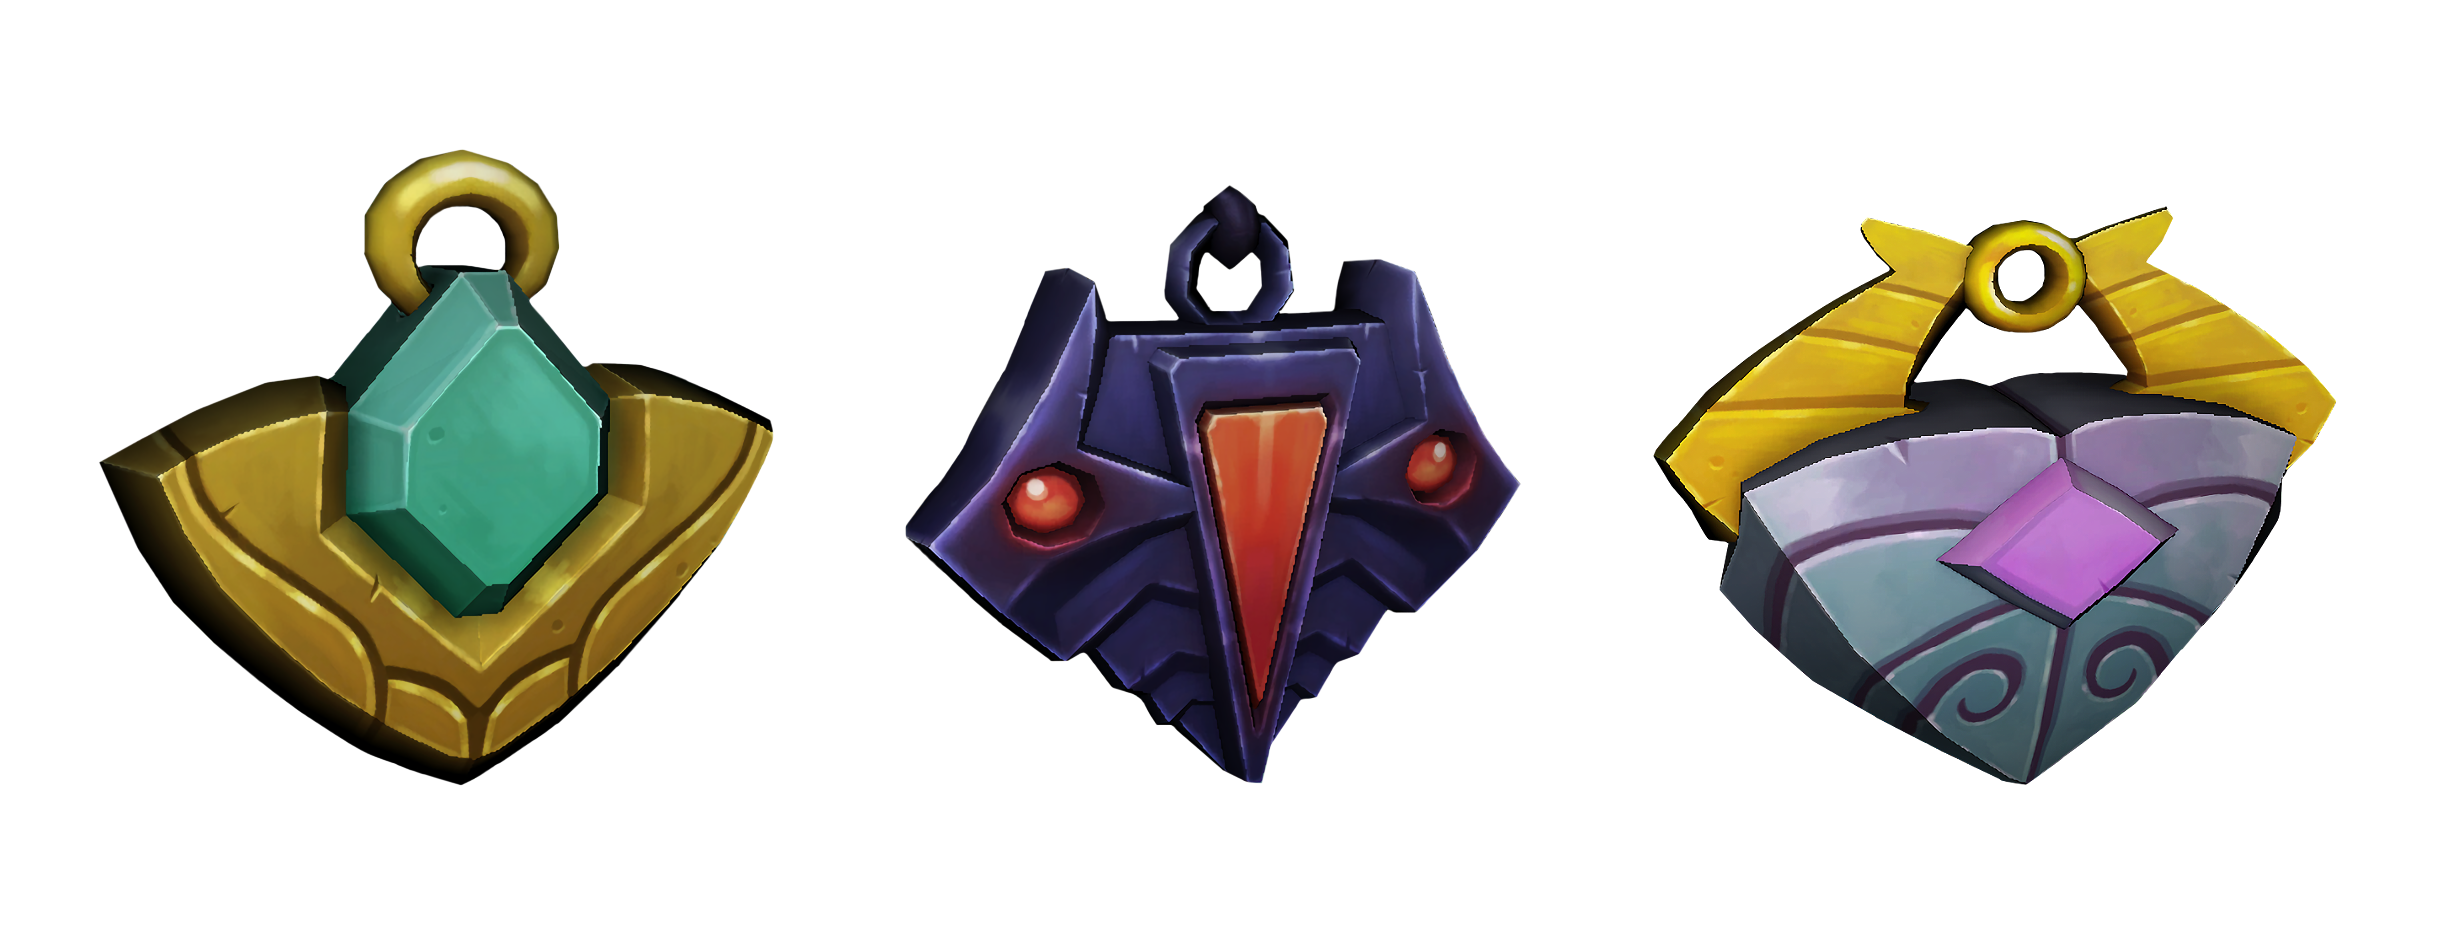
| + | [[File:Legendary Medallions.png|350px]] | ||
| − | === | + | |-|Totems= |
| − | + | ===Worn Set=== | |
| + | [[File:Worn Totems.png|350px]]<br> | ||
| + | ===Sturdy Set=== | ||
| + | [[File:Sturdy Totems.png|150px]]<br> | ||
| + | ===Powerful Set=== | ||
| + | [[File:Powerful Totems.png|150px]]<br> | ||
| + | ===Epic Set=== | ||
| + | [[File:Epic Totems.png|150px]]<br> | ||
| + | ===Mythical Set=== | ||
| + | [[File:Mythical Totems.png|200px]]<br> | ||
| + | ===Legendary Set=== | ||
| + | [[File:Legendary Totems.png|250px]] | ||
| − | [[Category: | + | |-|Orbs= |
| − | [[Category: | + | ===Set 1=== |
| + | [[File:Orb_Set1.png|170px]]<br> | ||
| + | ===Set 2=== | ||
| + | [[File:Orb_Set2.png|170px]]<br> | ||
| + | ===Set 3=== | ||
| + | [[File:Orb_Set3.png|170px]]<br> | ||
| + | ===Set 4=== | ||
| + | [[File:Orb_Set4.png|170px]]<br> | ||
| + | ===Set 5=== | ||
| + | [[File:Orb_Set5.png|170px]]<br> | ||
| + | ===Set 6=== | ||
| + | [[File:Orb_Set6.png|170px]] | ||
| + | |||
| + | |-|Marks= | ||
| + | ===Set 1=== | ||
| + | [[File:Mark_Set1.png|170px]]<br> | ||
| + | ===Set 2=== | ||
| + | [[File:Mark_Set2.png|170px]]<br> | ||
| + | ===Set 3=== | ||
| + | [[File:Mark_Set3.png|170px]]<br> | ||
| + | ===Set 4=== | ||
| + | [[File:Mark_Set4.png|170px]]<br> | ||
| + | ===Set 5=== | ||
| + | [[File:Mark_Set5.png|170px]]<br> | ||
| + | ===Set 6=== | ||
| + | [[File:Mark_Set6.png|170px]] | ||
| + | |||
| + | </tabber> | ||
| + | |||
| + | ==Gallery== | ||
| + | {| class="wikitable" | ||
| + | |- | ||
| + | | | ||
| + | <gallery> | ||
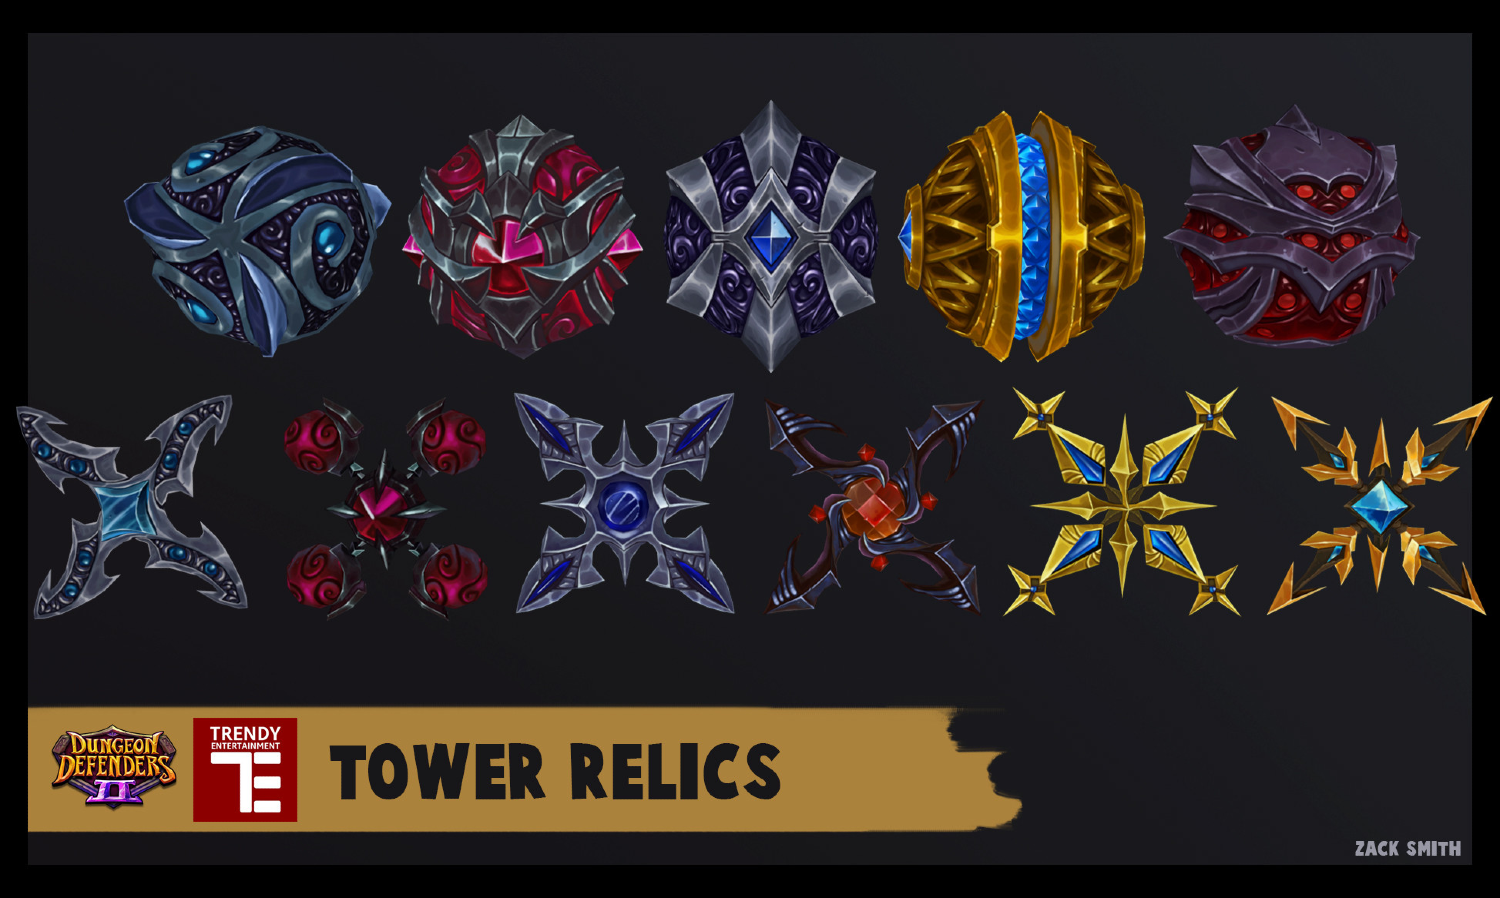
| + | File:Zack-smith-towerrelics.png|<sub> Relic art from Zack Smith </sub> | ||
| + | || | ||
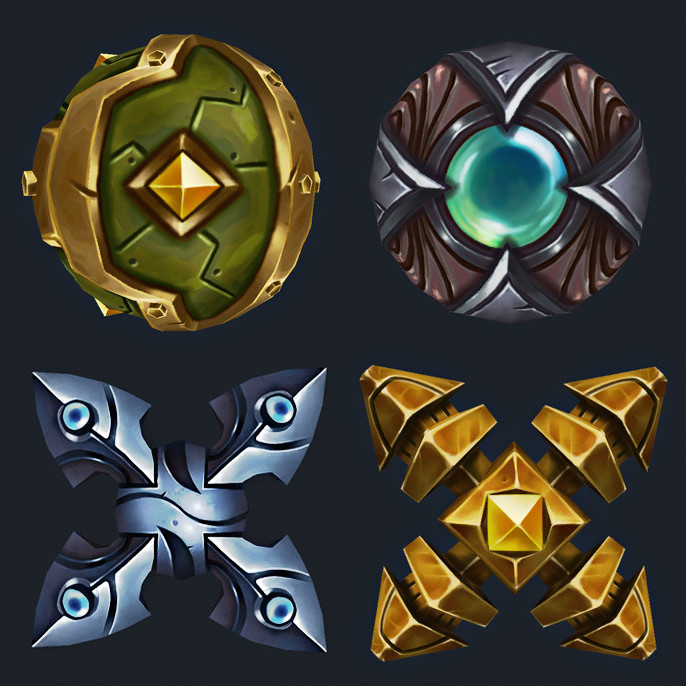
| + | File:Jesus-diaz-relics2.png|<sub> Relic art from Jesús Díaz </sub> | ||
| + | |||
| + | </gallery> | ||
| + | |} | ||
| + | |||
| + | [[Category:Equipment]] [[Category:Dungeon Defenders 2]] | ||
Latest revision as of 11:58, 5 November 2024
Contents
Overview
- Marks and Orbs both scale the same way like Medallions.
- Marks and Orbs no longer drop.
Orbs were removed from the drop pool during the Ancient's Prelude patch (Update 1.2) and Marks were removed during Protean Shift Expansion (3.0). - Medallions, Marks, and Orbs are best to use on DPS and buffing defenses because it has more defense power than a totem as it prioritizes Defense Power as the primary stat.
- Totems are best to use on Blockades because it has more defense health than Medallions, Marks, and Orbs because Health is the primary stat.
- Primary and Secondary stats can not be rerolled to another type.
- When relics reaches the godly rarity level, 1 random Tertiary stat will appear that can be Crit Chance, Crit Damage, Defense Range, or Defense Resistance.
Stat Ranges
Medallions, Marks, and Orbs
Totems
Quality
| Item Quality is represented by rarities shown below listed from the worst to the best. |
|
|
|
|
|
|
|
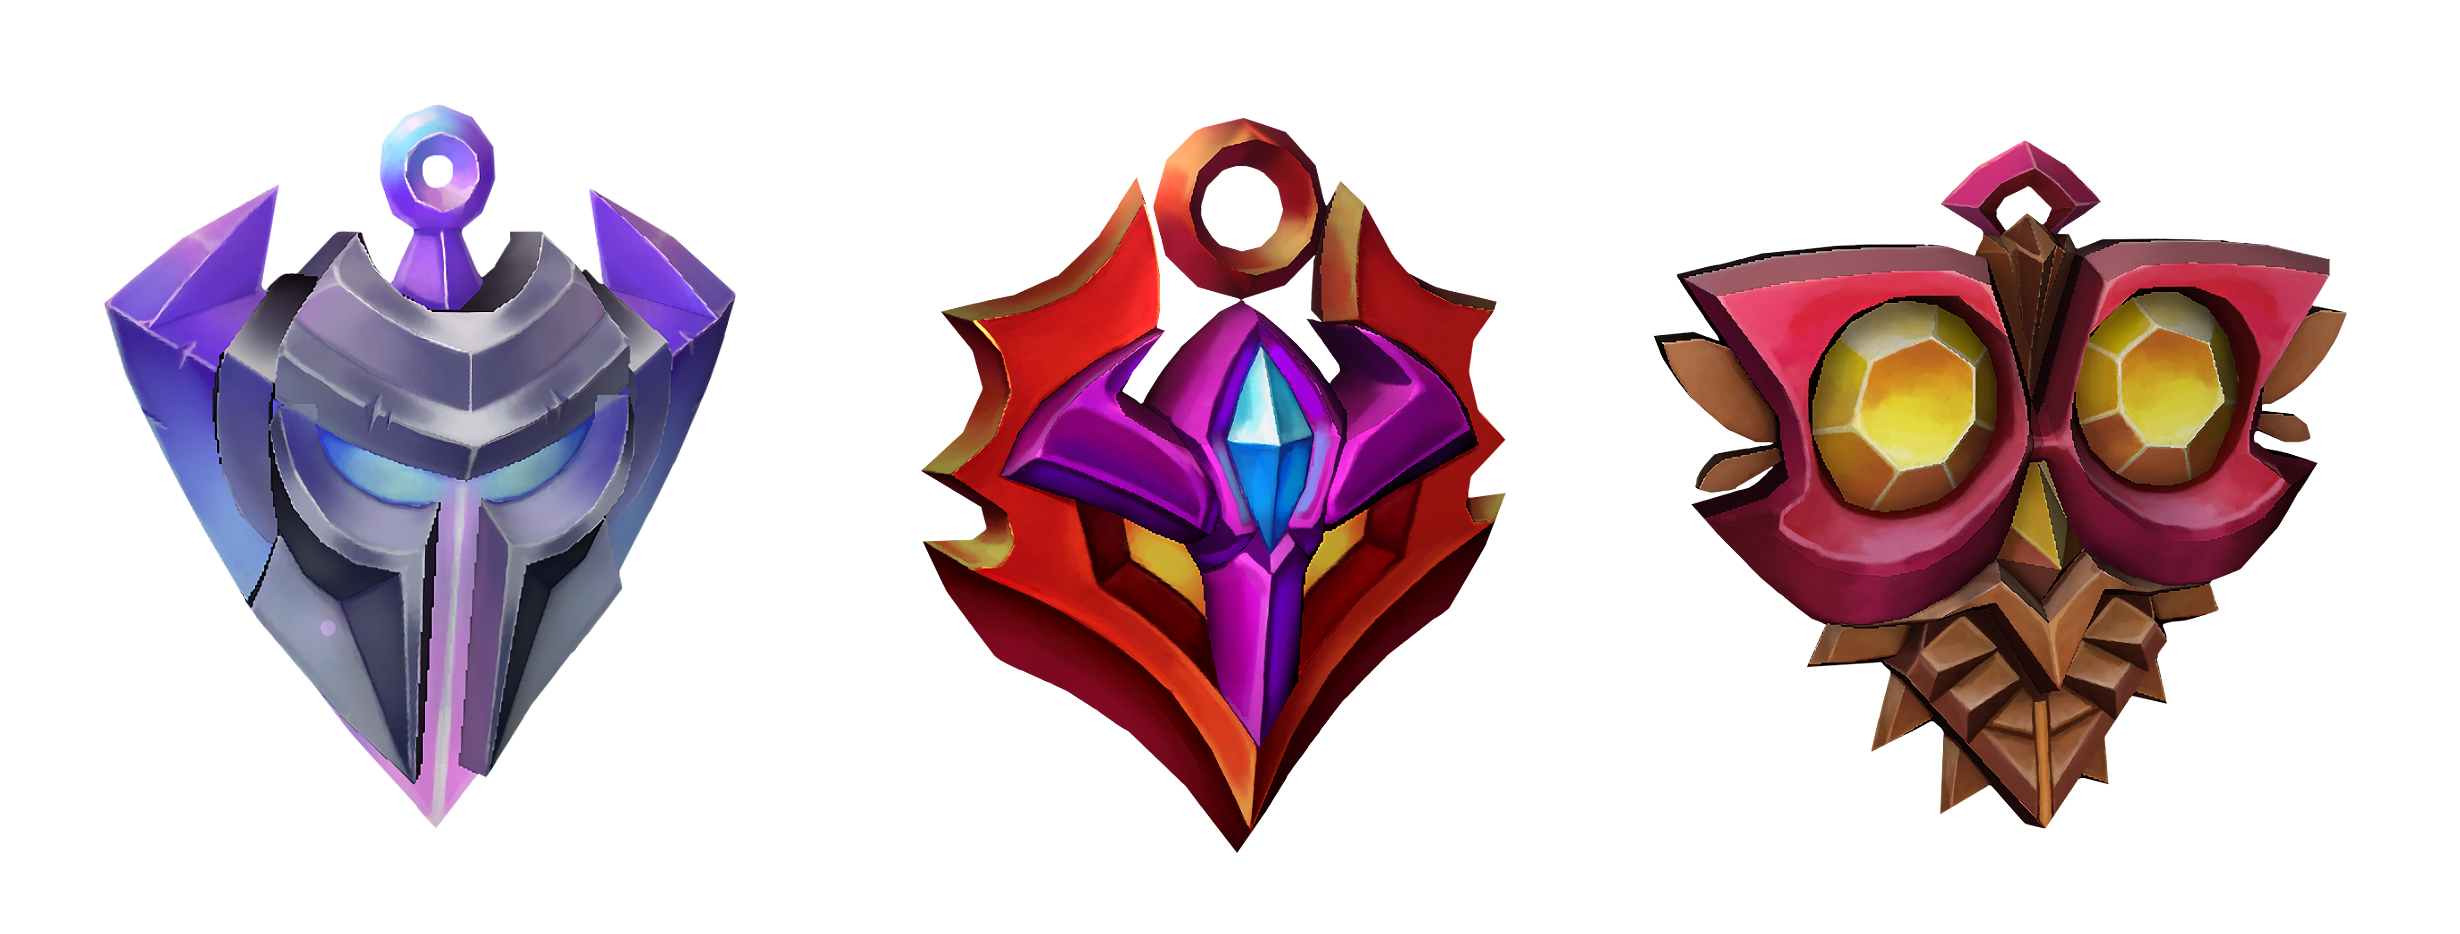
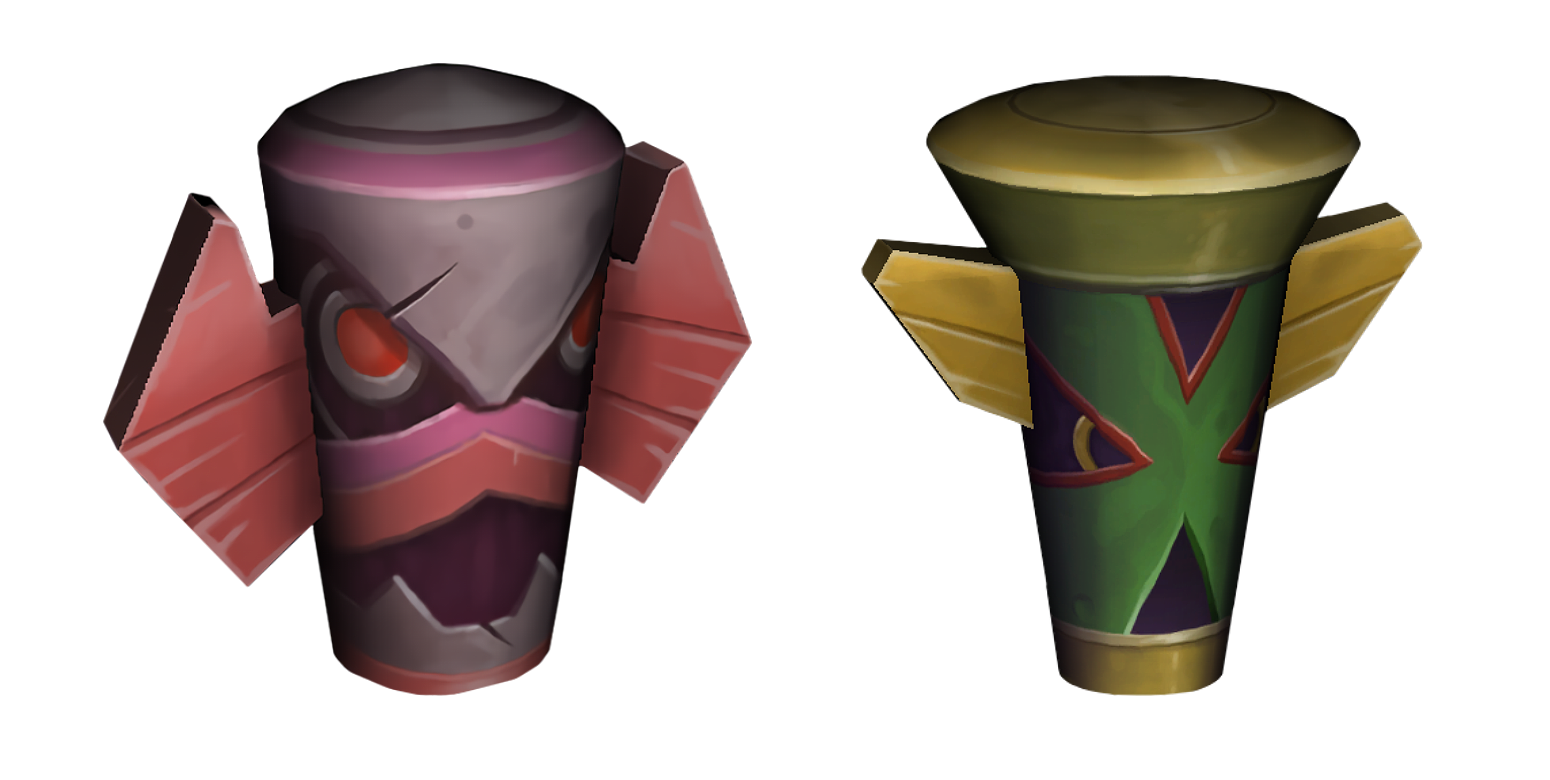
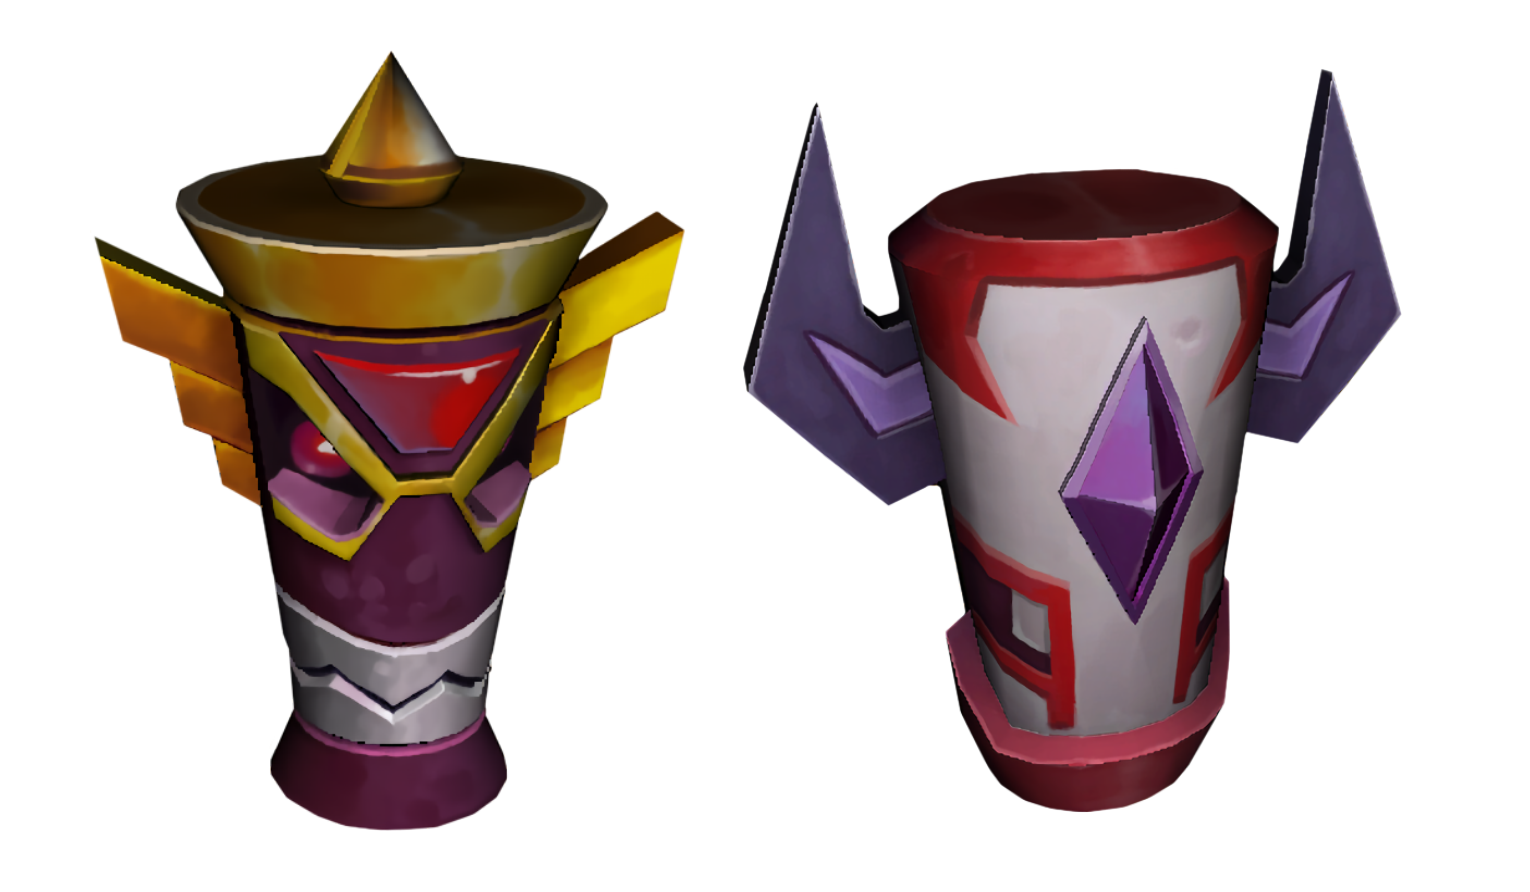
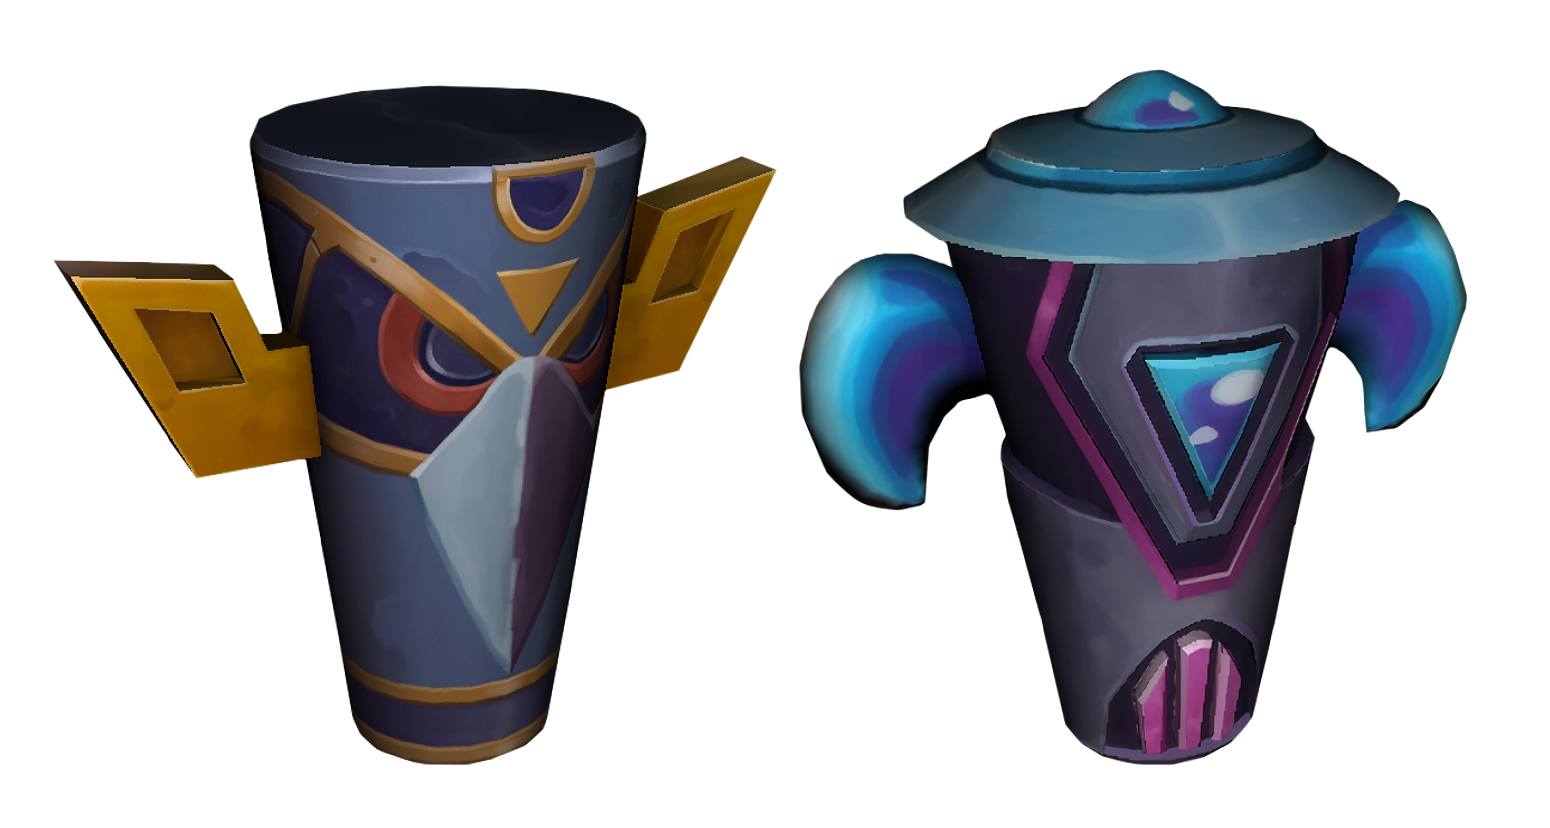
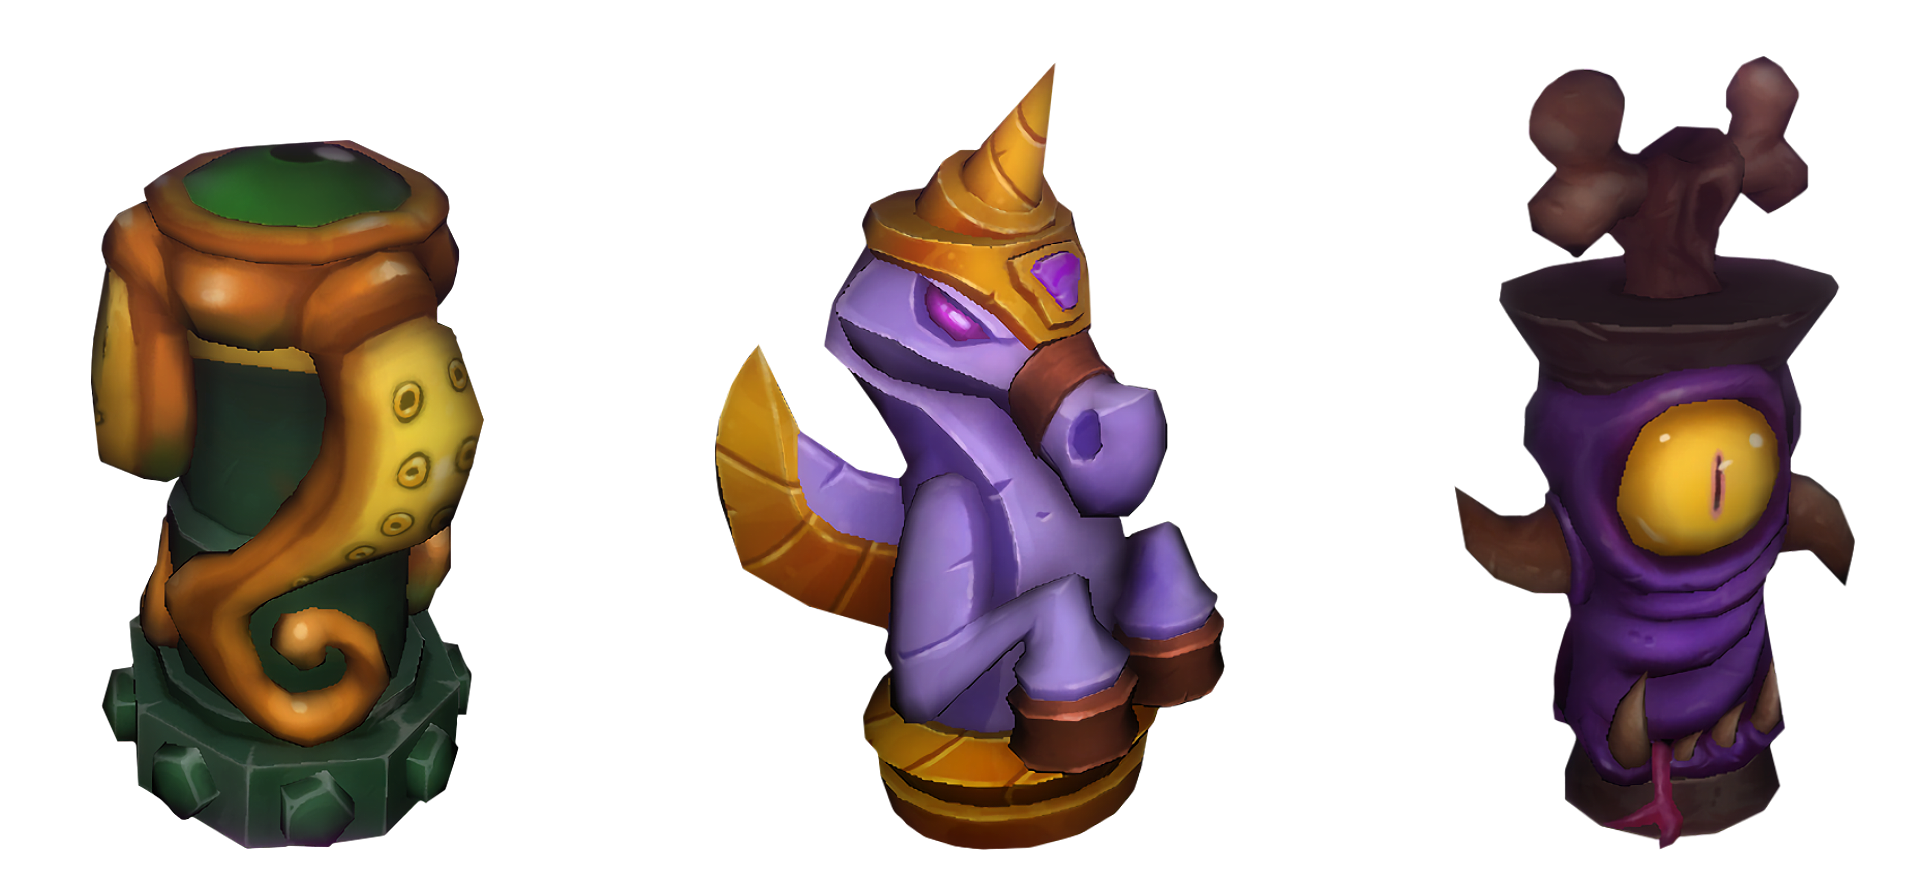
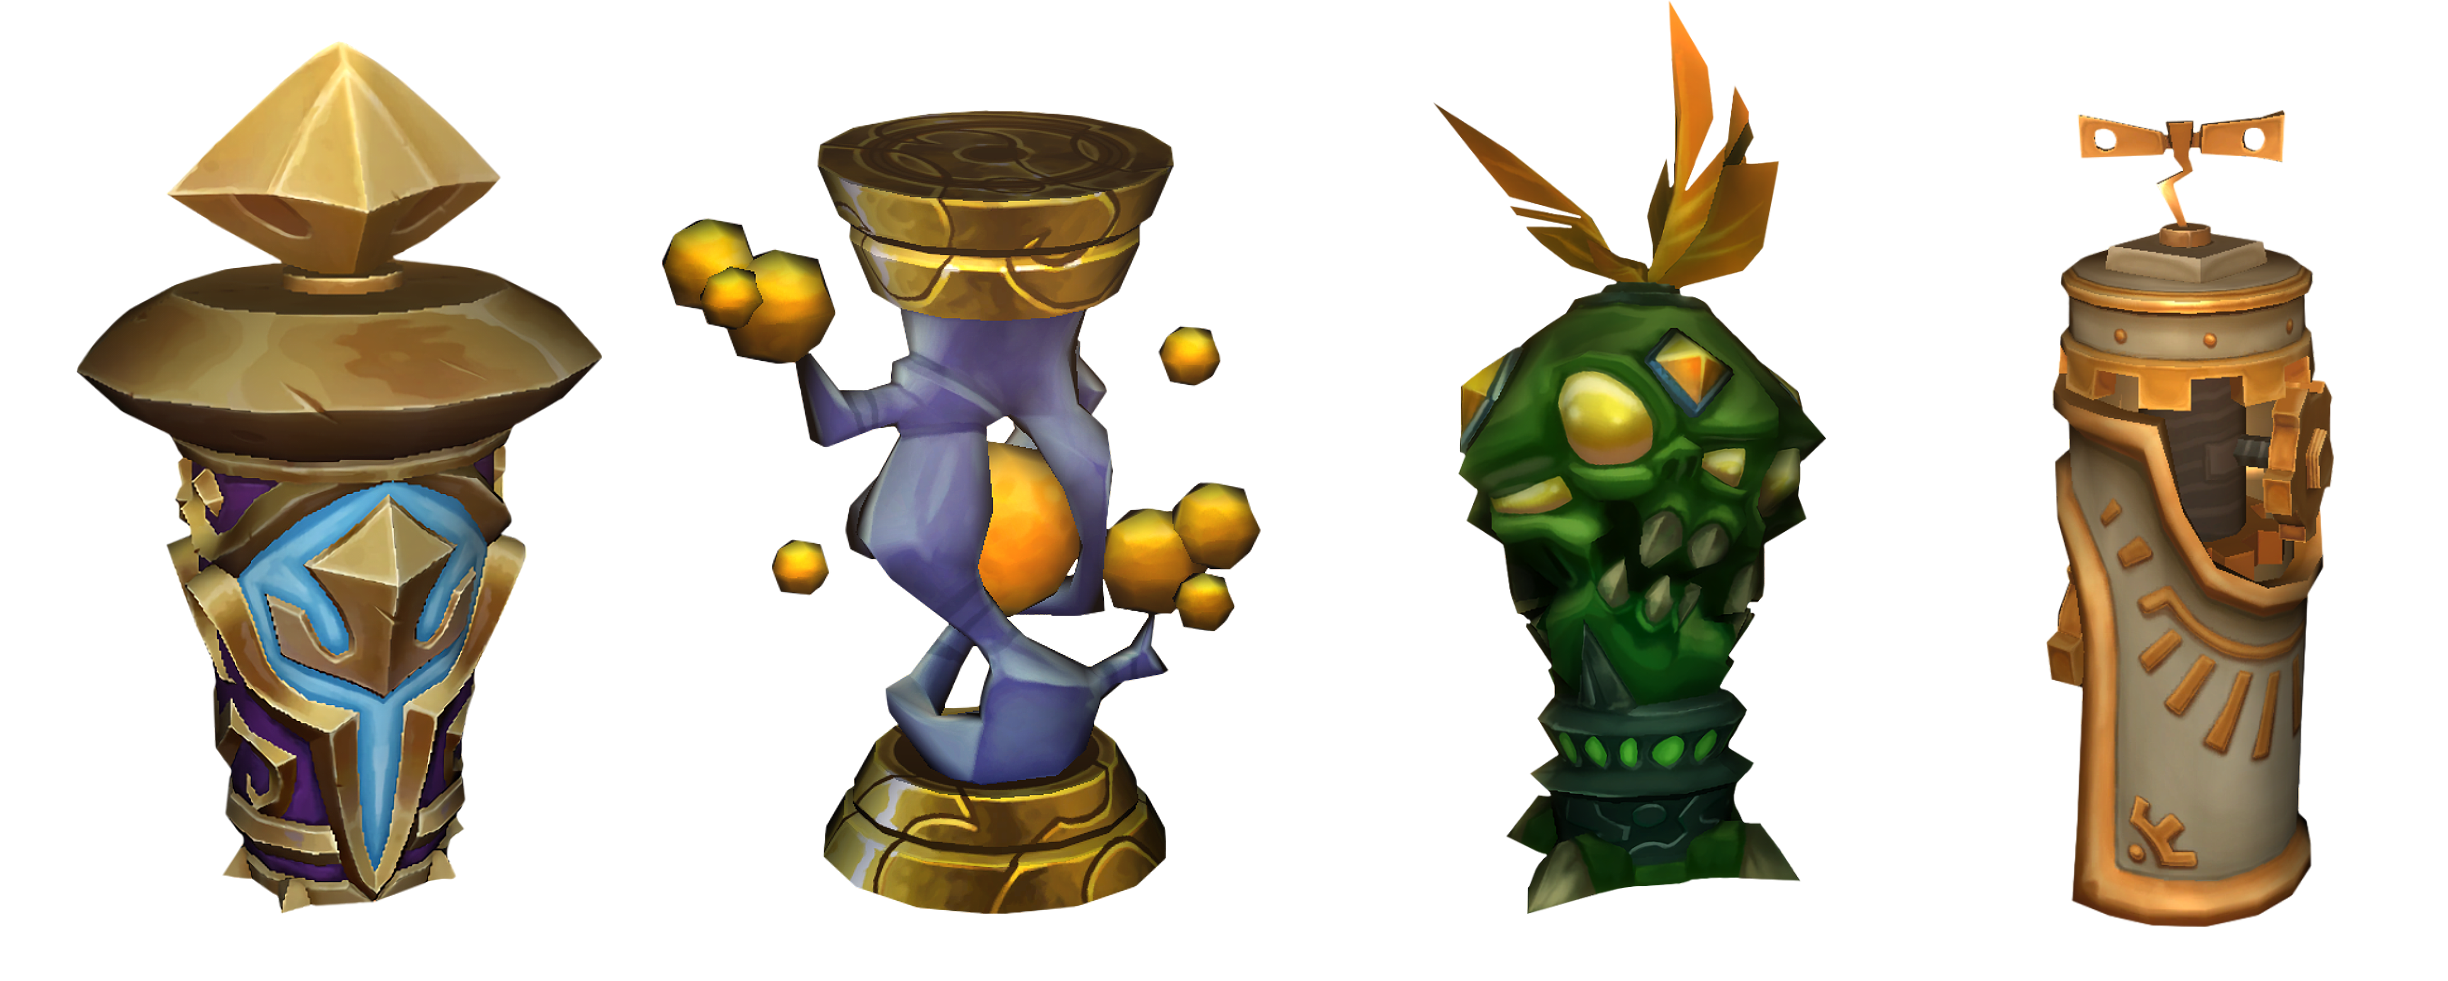
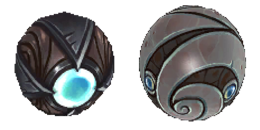
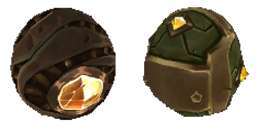
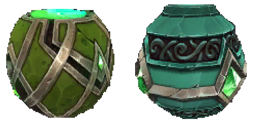
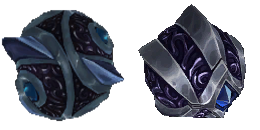
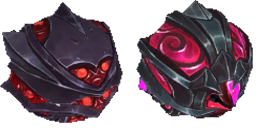
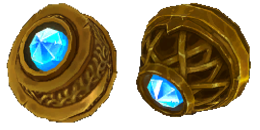
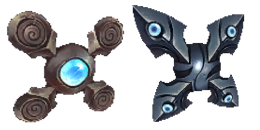
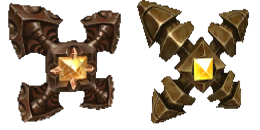
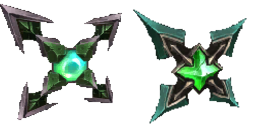
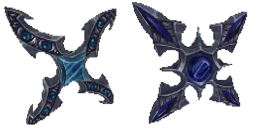
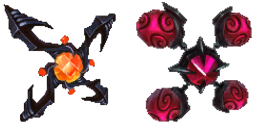
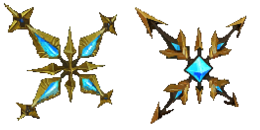
Types of Relics
Gallery
|
|

