Difference between revisions of "Shields"
m (→List of Shields) |
(Icon size increase to match other pages and added stat ranges) |
||
| Line 6: | Line 6: | ||
Basically, this result in the shield's main usage primarily becoming a stat boost to a hero's health and armor which would help them to be a little more tankier when fighting hordes of enemies. | Basically, this result in the shield's main usage primarily becoming a stat boost to a hero's health and armor which would help them to be a little more tankier when fighting hordes of enemies. | ||
| + | |||
| + | =Stat Ranges= | ||
| + | {|class="wikitable" style="text-align: center;" | ||
| + | |+All Stats Assume Max Upgrades (Minimum-Maximum stat rolls) | ||
| + | |- | ||
| + | !Weapon !! Campaign !! Chaos 1 !! Chaos 2 !! Chaos 3 !! Chaos 4 !! Chaos 5 !! Chaos 6 !! Chaos 7 !! Chaos 8 !! Chaos 9 !! Chaos 10 | ||
| + | |- | ||
| + | | '''Armor''' || 475~530 || 779~869 || 1,417~1,581 || 2,353~2,626 || 3,588~4,004 || 5,150~5,748 || 6,966~7,774|| 9,633~10,751 || 13,001~14,509 || 16,377~18,277 || 20,631~23,024 | ||
| + | |- | ||
| + | |'''HH''' || 285~321 || 468~526 || 850~957 ||1,412~1,589|| 2,153~2,422 || 3,090~3,477 || 4,180~4,703 || 5,780~6,503 || 7,801~8,776 ||9,827~11,055 || 12,379~13,926 | ||
| + | |- | ||
| + | |} | ||
== List of Shields == | == List of Shields == | ||
| Line 16: | Line 28: | ||
[[File:Wooden_Heater.png|200px]] | [[File:Wooden_Heater.png|200px]] | ||
| − | [[File:Wooden_Heater_Icon.png| | + | [[File:Wooden_Heater_Icon.png|35px]] '''Wooden Heater'''<br> |
<sub>'''''Acquired from:''' Standard Loot Drops''</sub><br> | <sub>'''''Acquired from:''' Standard Loot Drops''</sub><br> | ||
|} | |} | ||
| Line 27: | Line 39: | ||
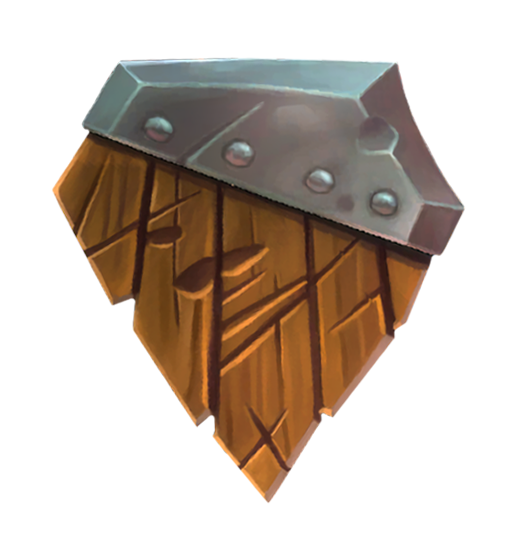
File:Boarded_Defender.png | File:Boarded_Defender.png | ||
</gallery> | </gallery> | ||
| − | [[File:Boarded_Defender_Icon.png| | + | [[File:Boarded_Defender_Icon.png|35px]] '''Boarded Defender''' <br> |
<sub>'''''Acquired from:''' Standard Loot Drops''</sub> <br> | <sub>'''''Acquired from:''' Standard Loot Drops''</sub> <br> | ||
|| | || | ||
| Line 33: | Line 45: | ||
File:Iron_Mantlet.png | File:Iron_Mantlet.png | ||
</gallery> | </gallery> | ||
| − | [[File:Iron_Mantlet_Icon.png| | + | [[File:Iron_Mantlet_Icon.png|35px]] '''Iron Mantlet''' <br> |
<sub>'''''Acquired from:''' Standard Loot Drops''</sub> <br> | <sub>'''''Acquired from:''' Standard Loot Drops''</sub> <br> | ||
|| | || | ||
| Line 39: | Line 51: | ||
File:Rusted_Spartan.png | File:Rusted_Spartan.png | ||
</gallery> | </gallery> | ||
| − | [[File:Rusted_Spartan_Icon.png| | + | [[File:Rusted_Spartan_Icon.png|35px]] '''Rusted Spartan''' <br> |
<sub>'''''Acquired from:''' Standard Loot Drops''</sub> <br> | <sub>'''''Acquired from:''' Standard Loot Drops''</sub> <br> | ||
|} | |} | ||
| Line 50: | Line 62: | ||
File:Refinished_Shield.png | File:Refinished_Shield.png | ||
</gallery> | </gallery> | ||
| − | [[File:Refinished_Shield_Icon.png| | + | [[File:Refinished_Shield_Icon.png|35px]] '''Refinished Shield''' <br> |
<sub>'''''Acquired from:''' Standard Loot Drops''</sub> <br> | <sub>'''''Acquired from:''' Standard Loot Drops''</sub> <br> | ||
|| | || | ||
| Line 56: | Line 68: | ||
File:Grinner.png | File:Grinner.png | ||
</gallery> | </gallery> | ||
| − | [[File:Grinner_Icon.png| | + | [[File:Grinner_Icon.png|35px]] '''Grinner''' <br> |
<sub>'''''Acquired from:''' Standard Loot Drops''</sub> <br> | <sub>'''''Acquired from:''' Standard Loot Drops''</sub> <br> | ||
|| | || | ||
| Line 62: | Line 74: | ||
File:Knocker.png | File:Knocker.png | ||
</gallery> | </gallery> | ||
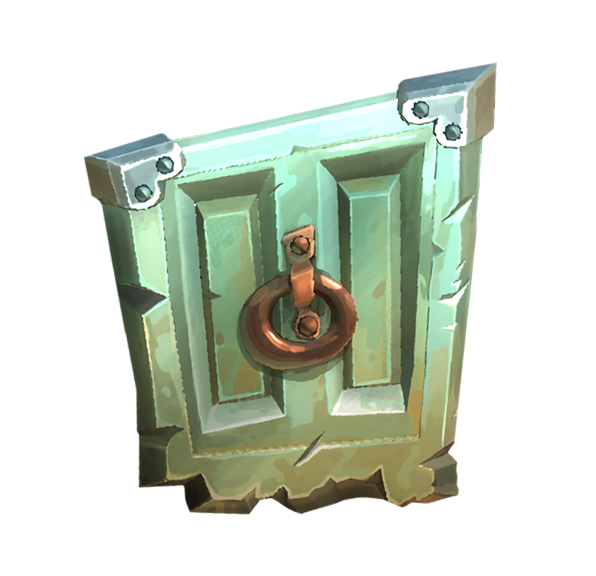
| − | [[File:Knocker_Icon.png| | + | [[File:Knocker_Icon.png|35px]] '''Knocker''' <br> |
<sub>'''''Acquired from:''' Standard Loot Drops''</sub> <br> | <sub>'''''Acquired from:''' Standard Loot Drops''</sub> <br> | ||
|| | || | ||
| Line 68: | Line 80: | ||
File:Crustace.png | File:Crustace.png | ||
</gallery> | </gallery> | ||
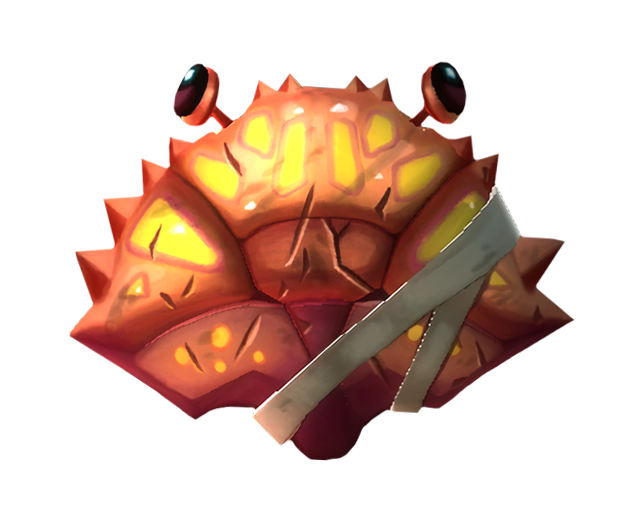
| − | [[File:Crustace_Icon.png| | + | [[File:Crustace_Icon.png|35px]] '''Crustace''' <br> |
<sub>'''''Acquired from:''' Standard Loot Drops''</sub> <br> | <sub>'''''Acquired from:''' Standard Loot Drops''</sub> <br> | ||
|- | |- | ||
| Line 75: | Line 87: | ||
File:Ogre_Deflector.png | File:Ogre_Deflector.png | ||
</gallery> | </gallery> | ||
| − | [[File:Ogre_Deflector_Icon.png| | + | [[File:Ogre_Deflector_Icon.png|35px]] '''Ogre Deflector''' <br> |
<sub>'''''Acquired from:''' Standard Loot Drops''</sub> <br> | <sub>'''''Acquired from:''' Standard Loot Drops''</sub> <br> | ||
|| | || | ||
[[File:Rogue_Defier.png|195px]] | [[File:Rogue_Defier.png|195px]] | ||
| − | [[File:Rogue_Defier_Icon.png| | + | [[File:Rogue_Defier_Icon.png|35px]] '''Rogue Defier''' <br> |
<sub>'''''Acquired from:''' Standard Loot Drops''</sub> <br> | <sub>'''''Acquired from:''' Standard Loot Drops''</sub> <br> | ||
|| | || | ||
| Line 86: | Line 98: | ||
File:Royal_Guardian.png | File:Royal_Guardian.png | ||
</gallery> | </gallery> | ||
| − | [[File:Royal_Guardian_Icon.png| | + | [[File:Royal_Guardian_Icon.png|35px]] '''Royal Guardian''' <br> |
<sub>'''''Acquired from:''' Standard Loot Drops''</sub> <br> | <sub>'''''Acquired from:''' Standard Loot Drops''</sub> <br> | ||
|} | |} | ||
| Line 97: | Line 109: | ||
File:Indigo_Pulse.png | File:Indigo_Pulse.png | ||
</gallery> | </gallery> | ||
| − | [[File:Indigo_Crush_Icon.png| | + | [[File:Indigo_Crush_Icon.png|35px]] '''Indigo Pulse''' <br> |
<sub>'''''Acquired from:''' Standard Loot Drops''</sub> <br> | <sub>'''''Acquired from:''' Standard Loot Drops''</sub> <br> | ||
| Line 103: | Line 115: | ||
[[File:Jaded_Oathbringer.png|170px]] | [[File:Jaded_Oathbringer.png|170px]] | ||
| − | [[File:Jaded_Oathbringer_Icon.png| | + | [[File:Jaded_Oathbringer_Icon.png|35px]] '''Jaded Oathbringer''' <br> |
<sub>'''''Acquired from:''' Standard Loot Drops''</sub> <br> | <sub>'''''Acquired from:''' Standard Loot Drops''</sub> <br> | ||
|} | |} | ||
| Line 114: | Line 126: | ||
File:Visage_of_the_Inferno.png | File:Visage_of_the_Inferno.png | ||
</gallery> | </gallery> | ||
| − | [[File:Visage_of_the_Inferno_Icon.png| | + | [[File:Visage_of_the_Inferno_Icon.png|35px]] '''Visage of the Inferno''' <br> |
<sub>'''''Acquired from:''' Standard Loot Drops''</sub> <br> | <sub>'''''Acquired from:''' Standard Loot Drops''</sub> <br> | ||
|| | || | ||
| Line 120: | Line 132: | ||
File:Undada-Cee.png | File:Undada-Cee.png | ||
</gallery> | </gallery> | ||
| − | [[File:Undada-Cee_Icon.png| | + | [[File:Undada-Cee_Icon.png|35px]] '''Undada-Cee''' <br> |
<sub>'''''Acquired from:''' Standard Loot Drops''</sub> <br> | <sub>'''''Acquired from:''' Standard Loot Drops''</sub> <br> | ||
|} | |} | ||
| Line 130: | Line 142: | ||
[[File:Angelic_Pavice.png|210px]] | [[File:Angelic_Pavice.png|210px]] | ||
| − | [[File:Angelic_Pavice_Icon.png| | + | [[File:Angelic_Pavice_Icon.png|35px]] '''Angelic Pavise''' <br> |
<sub>'''''Acquired from:''' Standard Loot Drops''</sub> <br> | <sub>'''''Acquired from:''' Standard Loot Drops''</sub> <br> | ||
|width="25%"| | |width="25%"| | ||
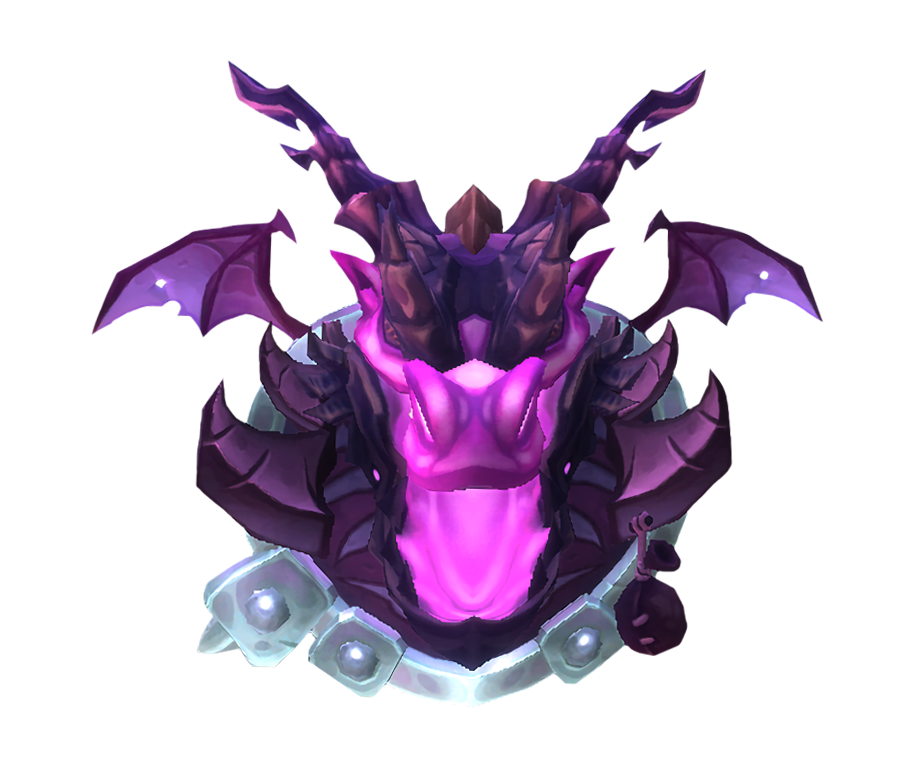
[[File:Dragonfall_Protector.png|170px]] | [[File:Dragonfall_Protector.png|170px]] | ||
| − | [[File:Dragonfall_Protector_Icon.png| | + | [[File:Dragonfall_Protector_Icon.png|35px]] '''Dragonfall Protector''' <br> |
<sub>'''''Acquired from:''' Standard Loot Drops''</sub> <br> | <sub>'''''Acquired from:''' Standard Loot Drops''</sub> <br> | ||
|| | || | ||
[[File:Harbinger%27s_Portal.png|200px]] | [[File:Harbinger%27s_Portal.png|200px]] | ||
| − | [[File:Harbinger%27s_Portal_Icon.png| | + | [[File:Harbinger%27s_Portal_Icon.png|35px]] '''Harbinger's Portal''' <br> |
<sub>'''''Acquired from:''' Harbinger's Warship''</sub> <br> | <sub>'''''Acquired from:''' Harbinger's Warship''</sub> <br> | ||
|| | || | ||
[[File:Protean_Protector_itself.png|180px]] | [[File:Protean_Protector_itself.png|180px]] | ||
| − | [[File:Protean_Protector_Icon.png| | + | [[File:Protean_Protector_Icon.png|35px]] '''Protean Protector''' <br> |
<sub>'''Purchasable from:''' The Emporium for [[File:Gem_Icon.png|18px]] 150''</sub> <br> | <sub>'''Purchasable from:''' The Emporium for [[File:Gem_Icon.png|18px]] 150''</sub> <br> | ||
|- | |- | ||
| Line 151: | Line 163: | ||
[[File:Shipwrecked_Shield_itself.png|200px]] | [[File:Shipwrecked_Shield_itself.png|200px]] | ||
| − | [[File:Shipwrecked_Shield_Icon.png| | + | [[File:Shipwrecked_Shield_Icon.png|35px]] '''Shipwrecked Shield''' <br> |
<sub>'''''Acquired from:''' maps in the High Seas Region''</sub> <br> | <sub>'''''Acquired from:''' maps in the High Seas Region''</sub> <br> | ||
|| | || | ||
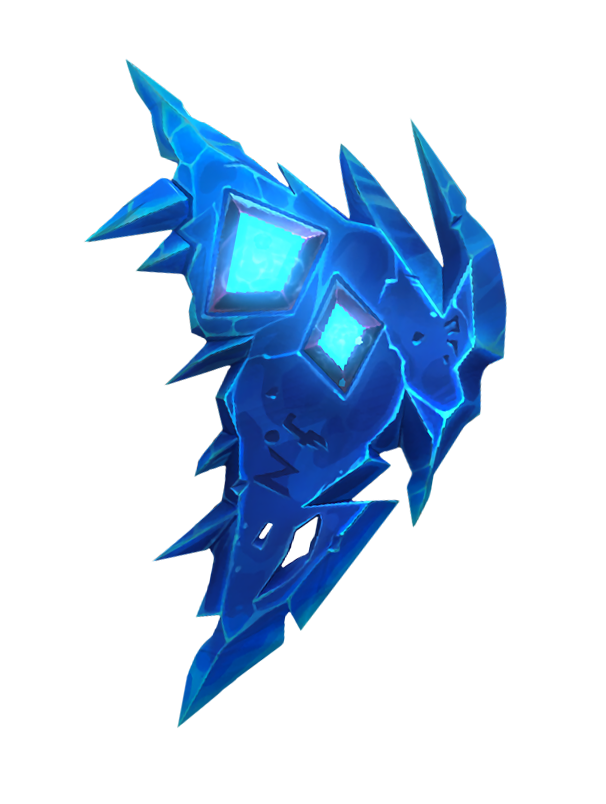
[[File:Glacial_Guard_itself.png|165px]] | [[File:Glacial_Guard_itself.png|165px]] | ||
| − | [[File:Glacial_Guard_Icon.png| | + | [[File:Glacial_Guard_Icon.png|35px]] Glacial Guard <br> |
<sub>'''''Acquired from:''' Drakenfrost Keep Expeditions - Every 1st weekly loot rotation''</sub> <br> | <sub>'''''Acquired from:''' Drakenfrost Keep Expeditions - Every 1st weekly loot rotation''</sub> <br> | ||
|| | || | ||
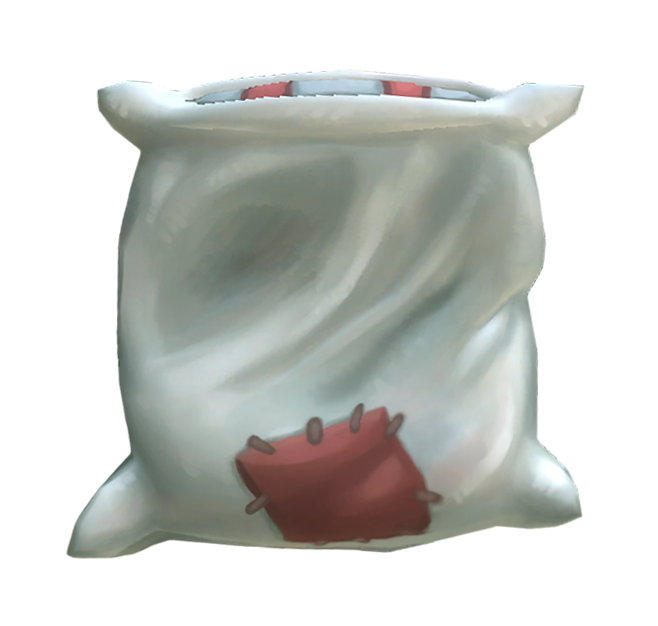
[[File:Featherweight_itself.png|210px]] | [[File:Featherweight_itself.png|210px]] | ||
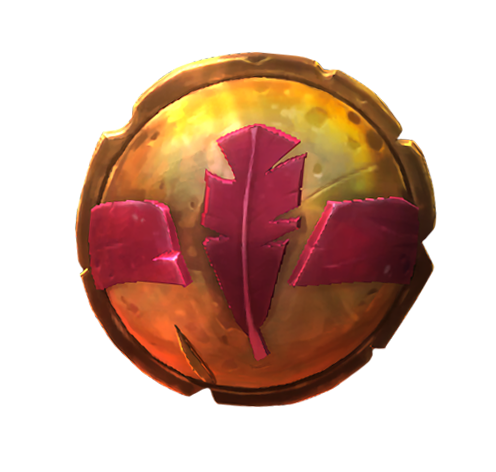
| − | [[File:Featherweight_Icon.png| | + | [[File:Featherweight_Icon.png|35px]] '''Featherweight''' <br> |
<sub>'''''Acquired from:''' Mananode's Amazing Gift''</sub> <br> | <sub>'''''Acquired from:''' Mananode's Amazing Gift''</sub> <br> | ||
|| | || | ||
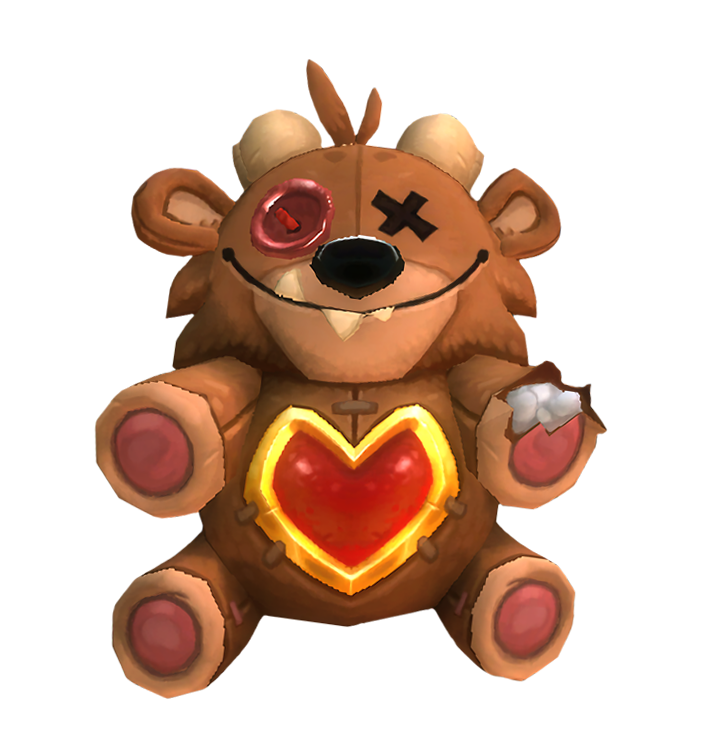
[[File:Zeddy_the_Teddy_itself.png|190px]] | [[File:Zeddy_the_Teddy_itself.png|190px]] | ||
| − | [[File:Zeddy_the_Teddy_Icon.png| | + | [[File:Zeddy_the_Teddy_Icon.png|35px]] Zeddy the Teddy <br> |
<sub>'''''Acquired from:''' Mananode's Special Gift''</sub> <br> | <sub>'''''Acquired from:''' Mananode's Special Gift''</sub> <br> | ||
|- | |- | ||
| Line 172: | Line 184: | ||
[[File:Jurassic%27s_Revenge.png|200px]] | [[File:Jurassic%27s_Revenge.png|200px]] | ||
| − | [[File:Jurassic%27s_Revenge_Icon.png| | + | [[File:Jurassic%27s_Revenge_Icon.png|35px]] '''Jurassic Revenge''' <br> |
<sub>'''''Acquired from:''' Mananode's Special Gift''</sub> <br> | <sub>'''''Acquired from:''' Mananode's Special Gift''</sub> <br> | ||
|| | || | ||
[[File:Flame_Warden%27s_Shield.png|140px]] | [[File:Flame_Warden%27s_Shield.png|140px]] | ||
| − | [[File:Flame_Warden%27s_Shield_Icon.png| | + | [[File:Flame_Warden%27s_Shield_Icon.png|35px]] '''Flame Warden's Shield''' <br> |
<sub>'''''Acquired from:''' Embermount Volcano Expeditions''</sub> <br> | <sub>'''''Acquired from:''' Embermount Volcano Expeditions''</sub> <br> | ||
|} | |} | ||
Revision as of 19:30, 26 June 2023
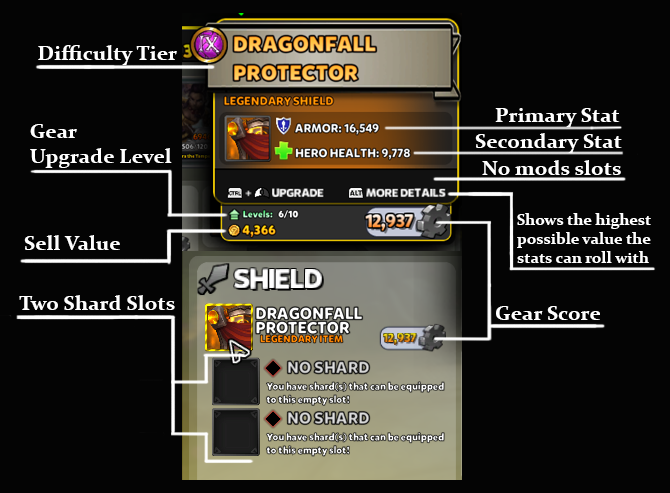
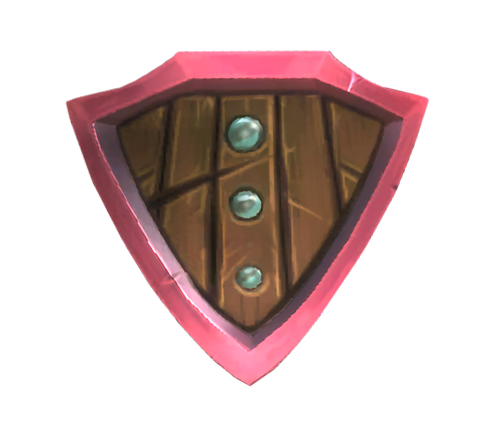
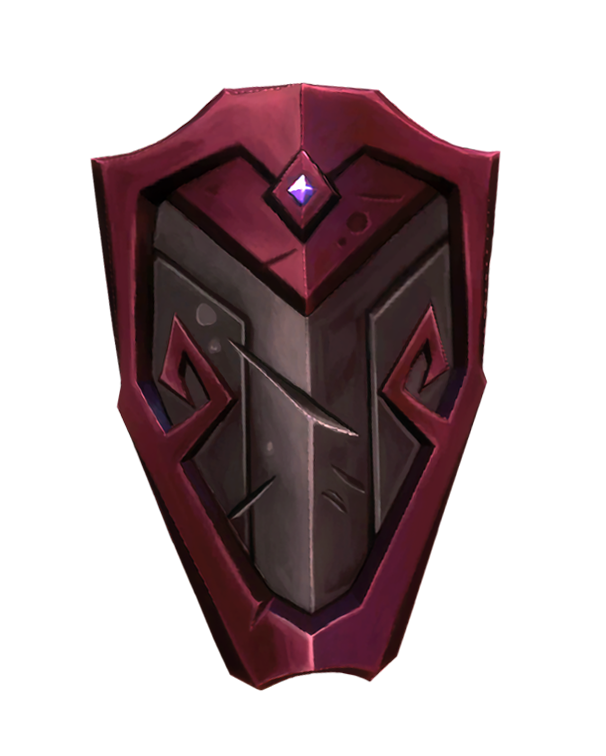
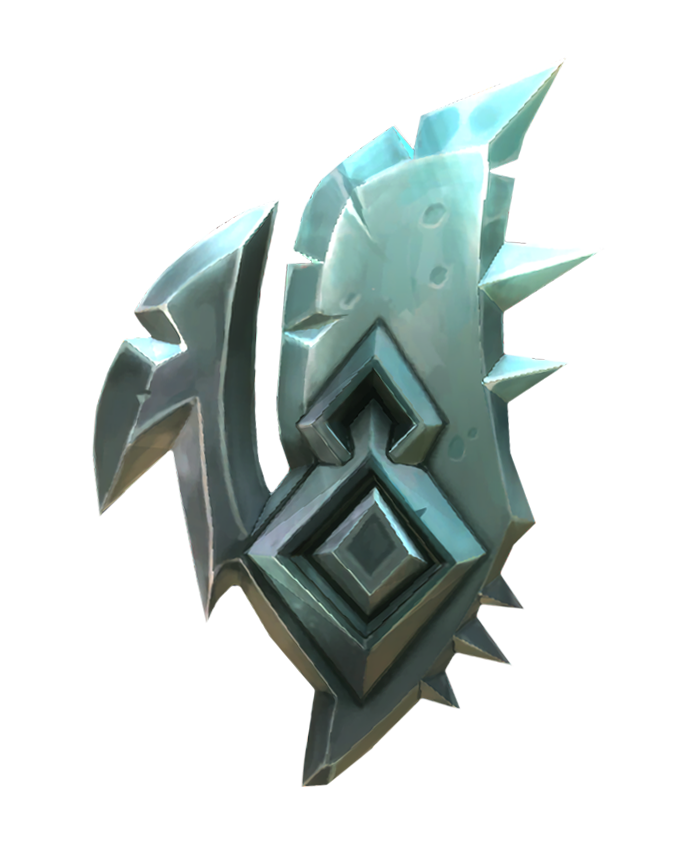
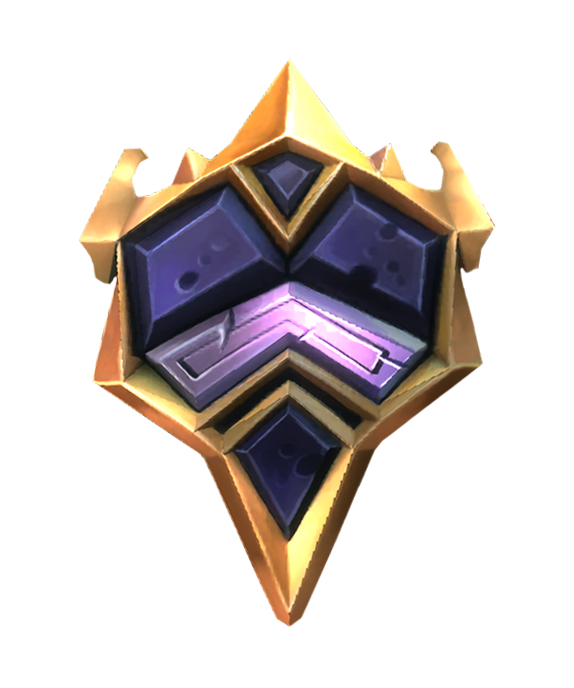
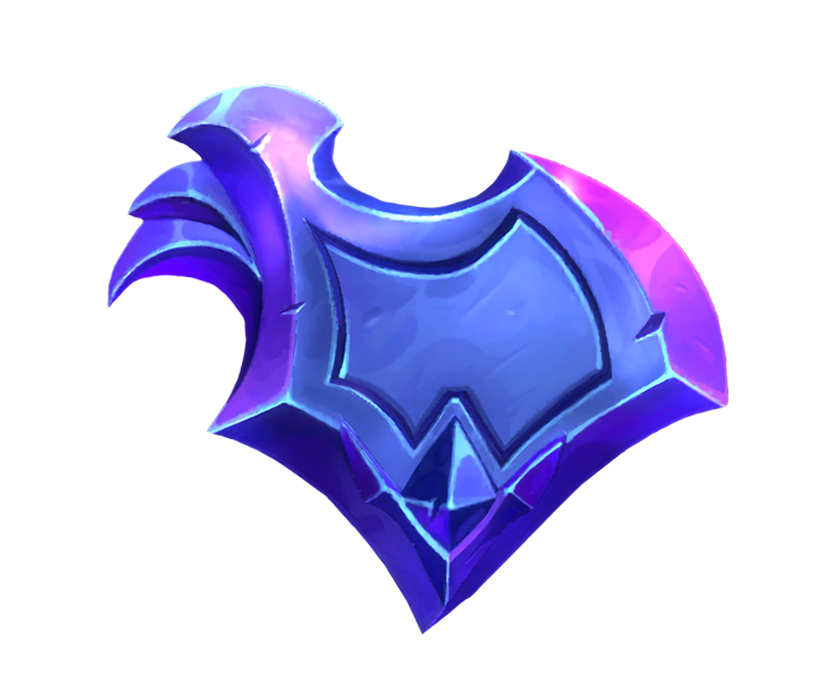
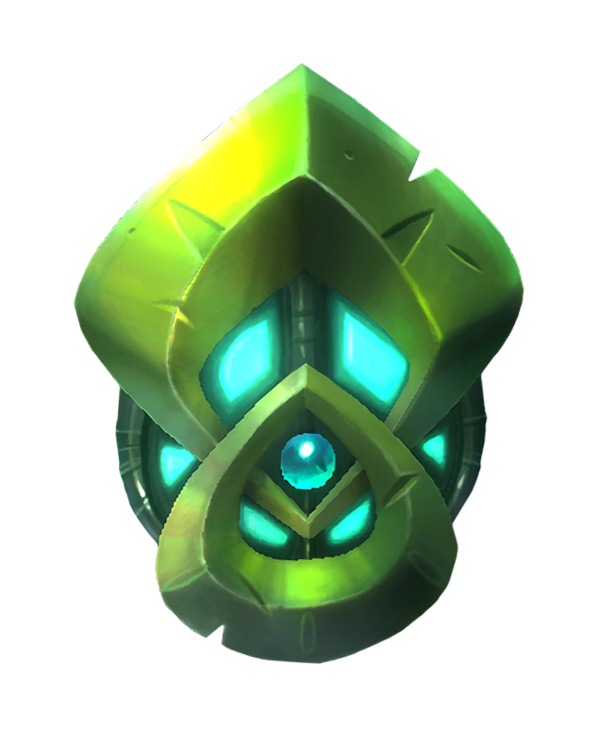
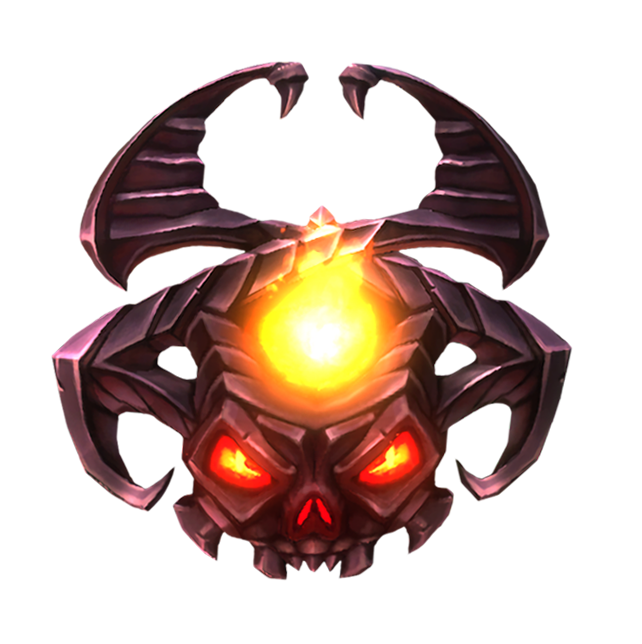
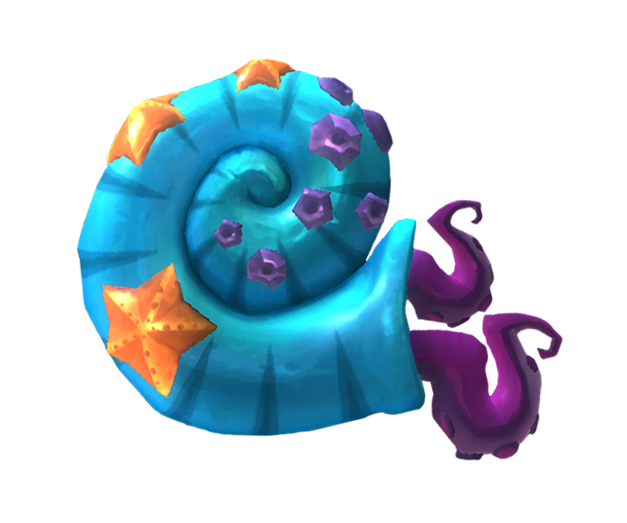
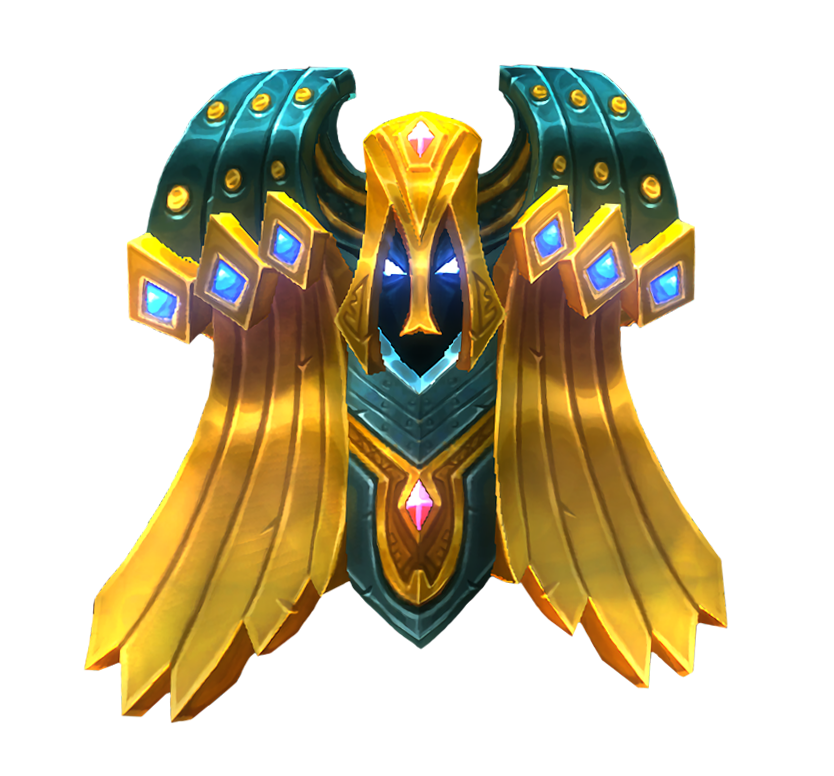
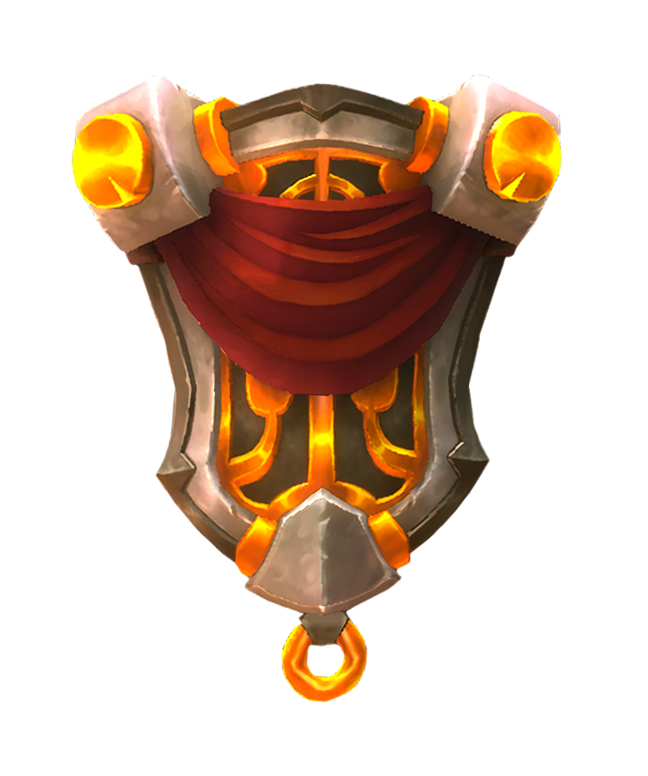
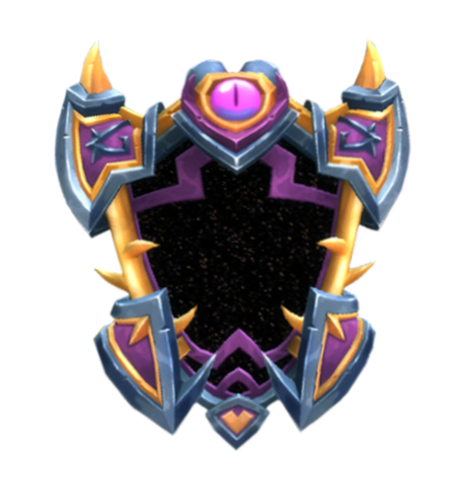
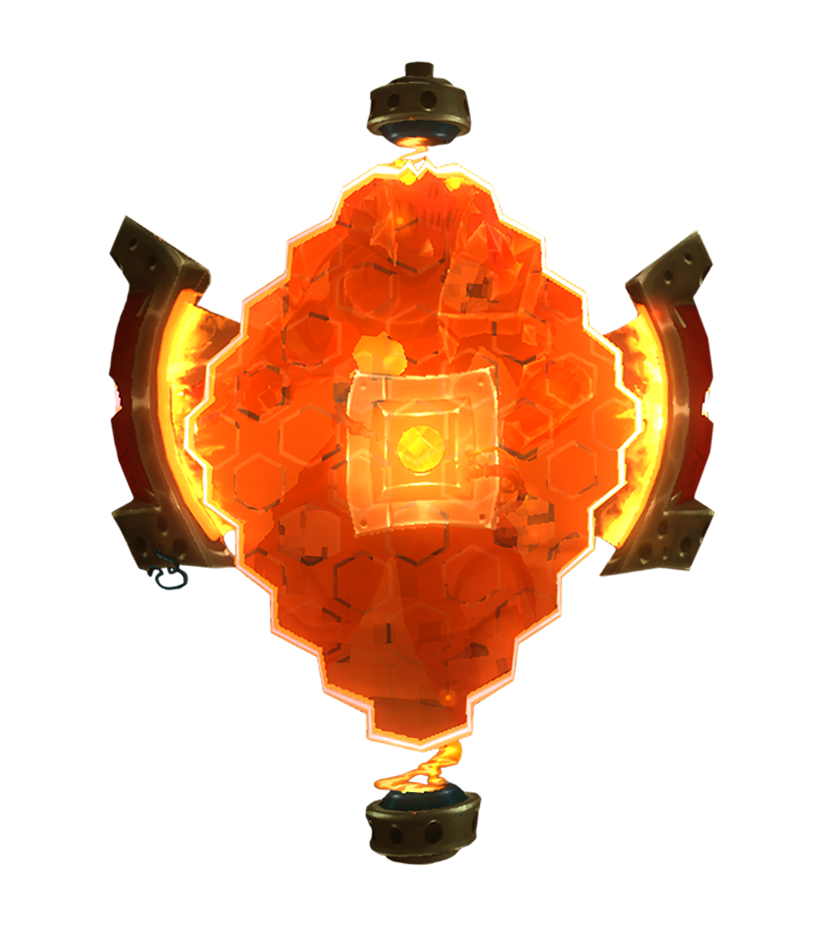
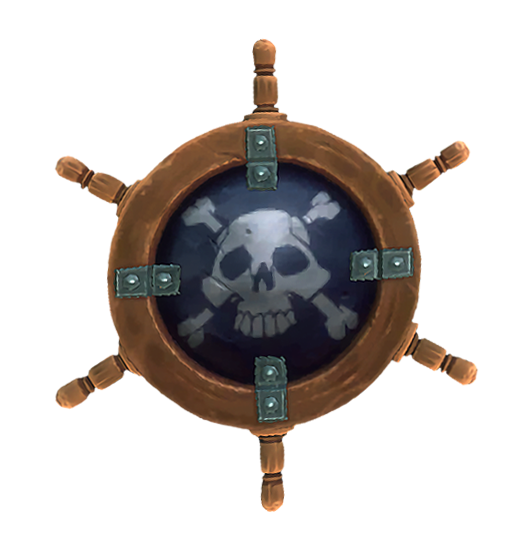
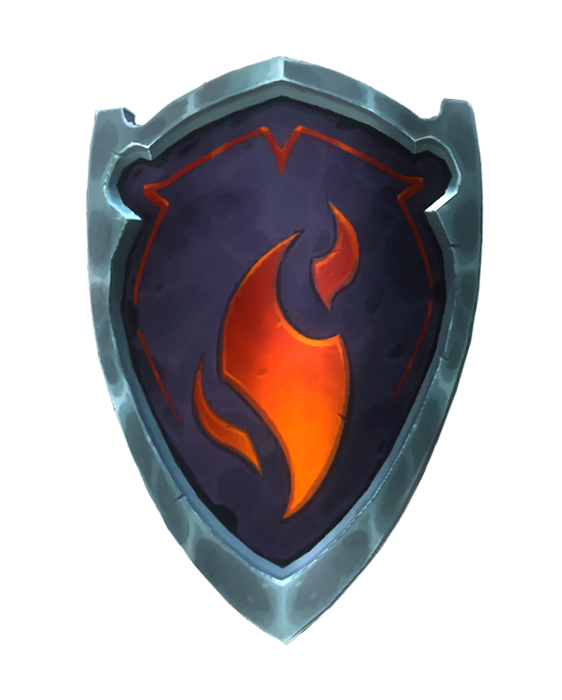
Shields are secondary weapons for the Squire and the Countess. The stats will always consists of Armor as the primary stat and Hero Health as the secondary stat. These weapons also holds two Shards slots but doesn't have any slots for M.O.D.S.
Usage
Shields are meant to be used for the Squire/Countess' secondary attack Block - when utilized, any frontal damage dealt to the player will be reduced by 35% and hero's speed will be slowed to a crawl. However, this eventually becomes very ineffective during the late game where the players will be better off always moving and attacking rather than blocking as the enemies gets extremely ferocious. The only reason most players would utilize Block these days is when they have an Unholy Fire shard equipped which allows the Squire or Countess to become a walking flamethrower while Block is being used. That said, while the damage of the Unholy Fire isn't that bad, most wouldn't use it for serious progression as it's still heavily outclassed by much stronger hero builds. It's generally regarded more of a fun addition.
Basically, this result in the shield's main usage primarily becoming a stat boost to a hero's health and armor which would help them to be a little more tankier when fighting hordes of enemies.
Stat Ranges
| Weapon | Campaign | Chaos 1 | Chaos 2 | Chaos 3 | Chaos 4 | Chaos 5 | Chaos 6 | Chaos 7 | Chaos 8 | Chaos 9 | Chaos 10 |
|---|---|---|---|---|---|---|---|---|---|---|---|
| Armor | 475~530 | 779~869 | 1,417~1,581 | 2,353~2,626 | 3,588~4,004 | 5,150~5,748 | 6,966~7,774 | 9,633~10,751 | 13,001~14,509 | 16,377~18,277 | 20,631~23,024 |
| HH | 285~321 | 468~526 | 850~957 | 1,412~1,589 | 2,153~2,422 | 3,090~3,477 | 4,180~4,703 | 5,780~6,503 | 7,801~8,776 | 9,827~11,055 | 12,379~13,926 |
List of Shields
|
|
|
|
|
|
|
|
|
|
|
|
|
|
|
|
|
Notes and Trivia
- Shields in DD1 and DD2 are very different each other. In DD1, shields are accessory-esque loots that may contain hero or defense stats or both while shields in DD2 are secondary weapons that only contains hero health and armor stats. The only aspect that's identical in both games is that shields are mainly used by the Squire and Countess to Block.
- In Dungeon Defenders Awakened, shields takes certain aspects from both games. Having more than two stats (and also using DD1 models) are aspects that came from DD1 while shields being offhand weapons instead of being accessories is an aspect that's taken from DD2.
